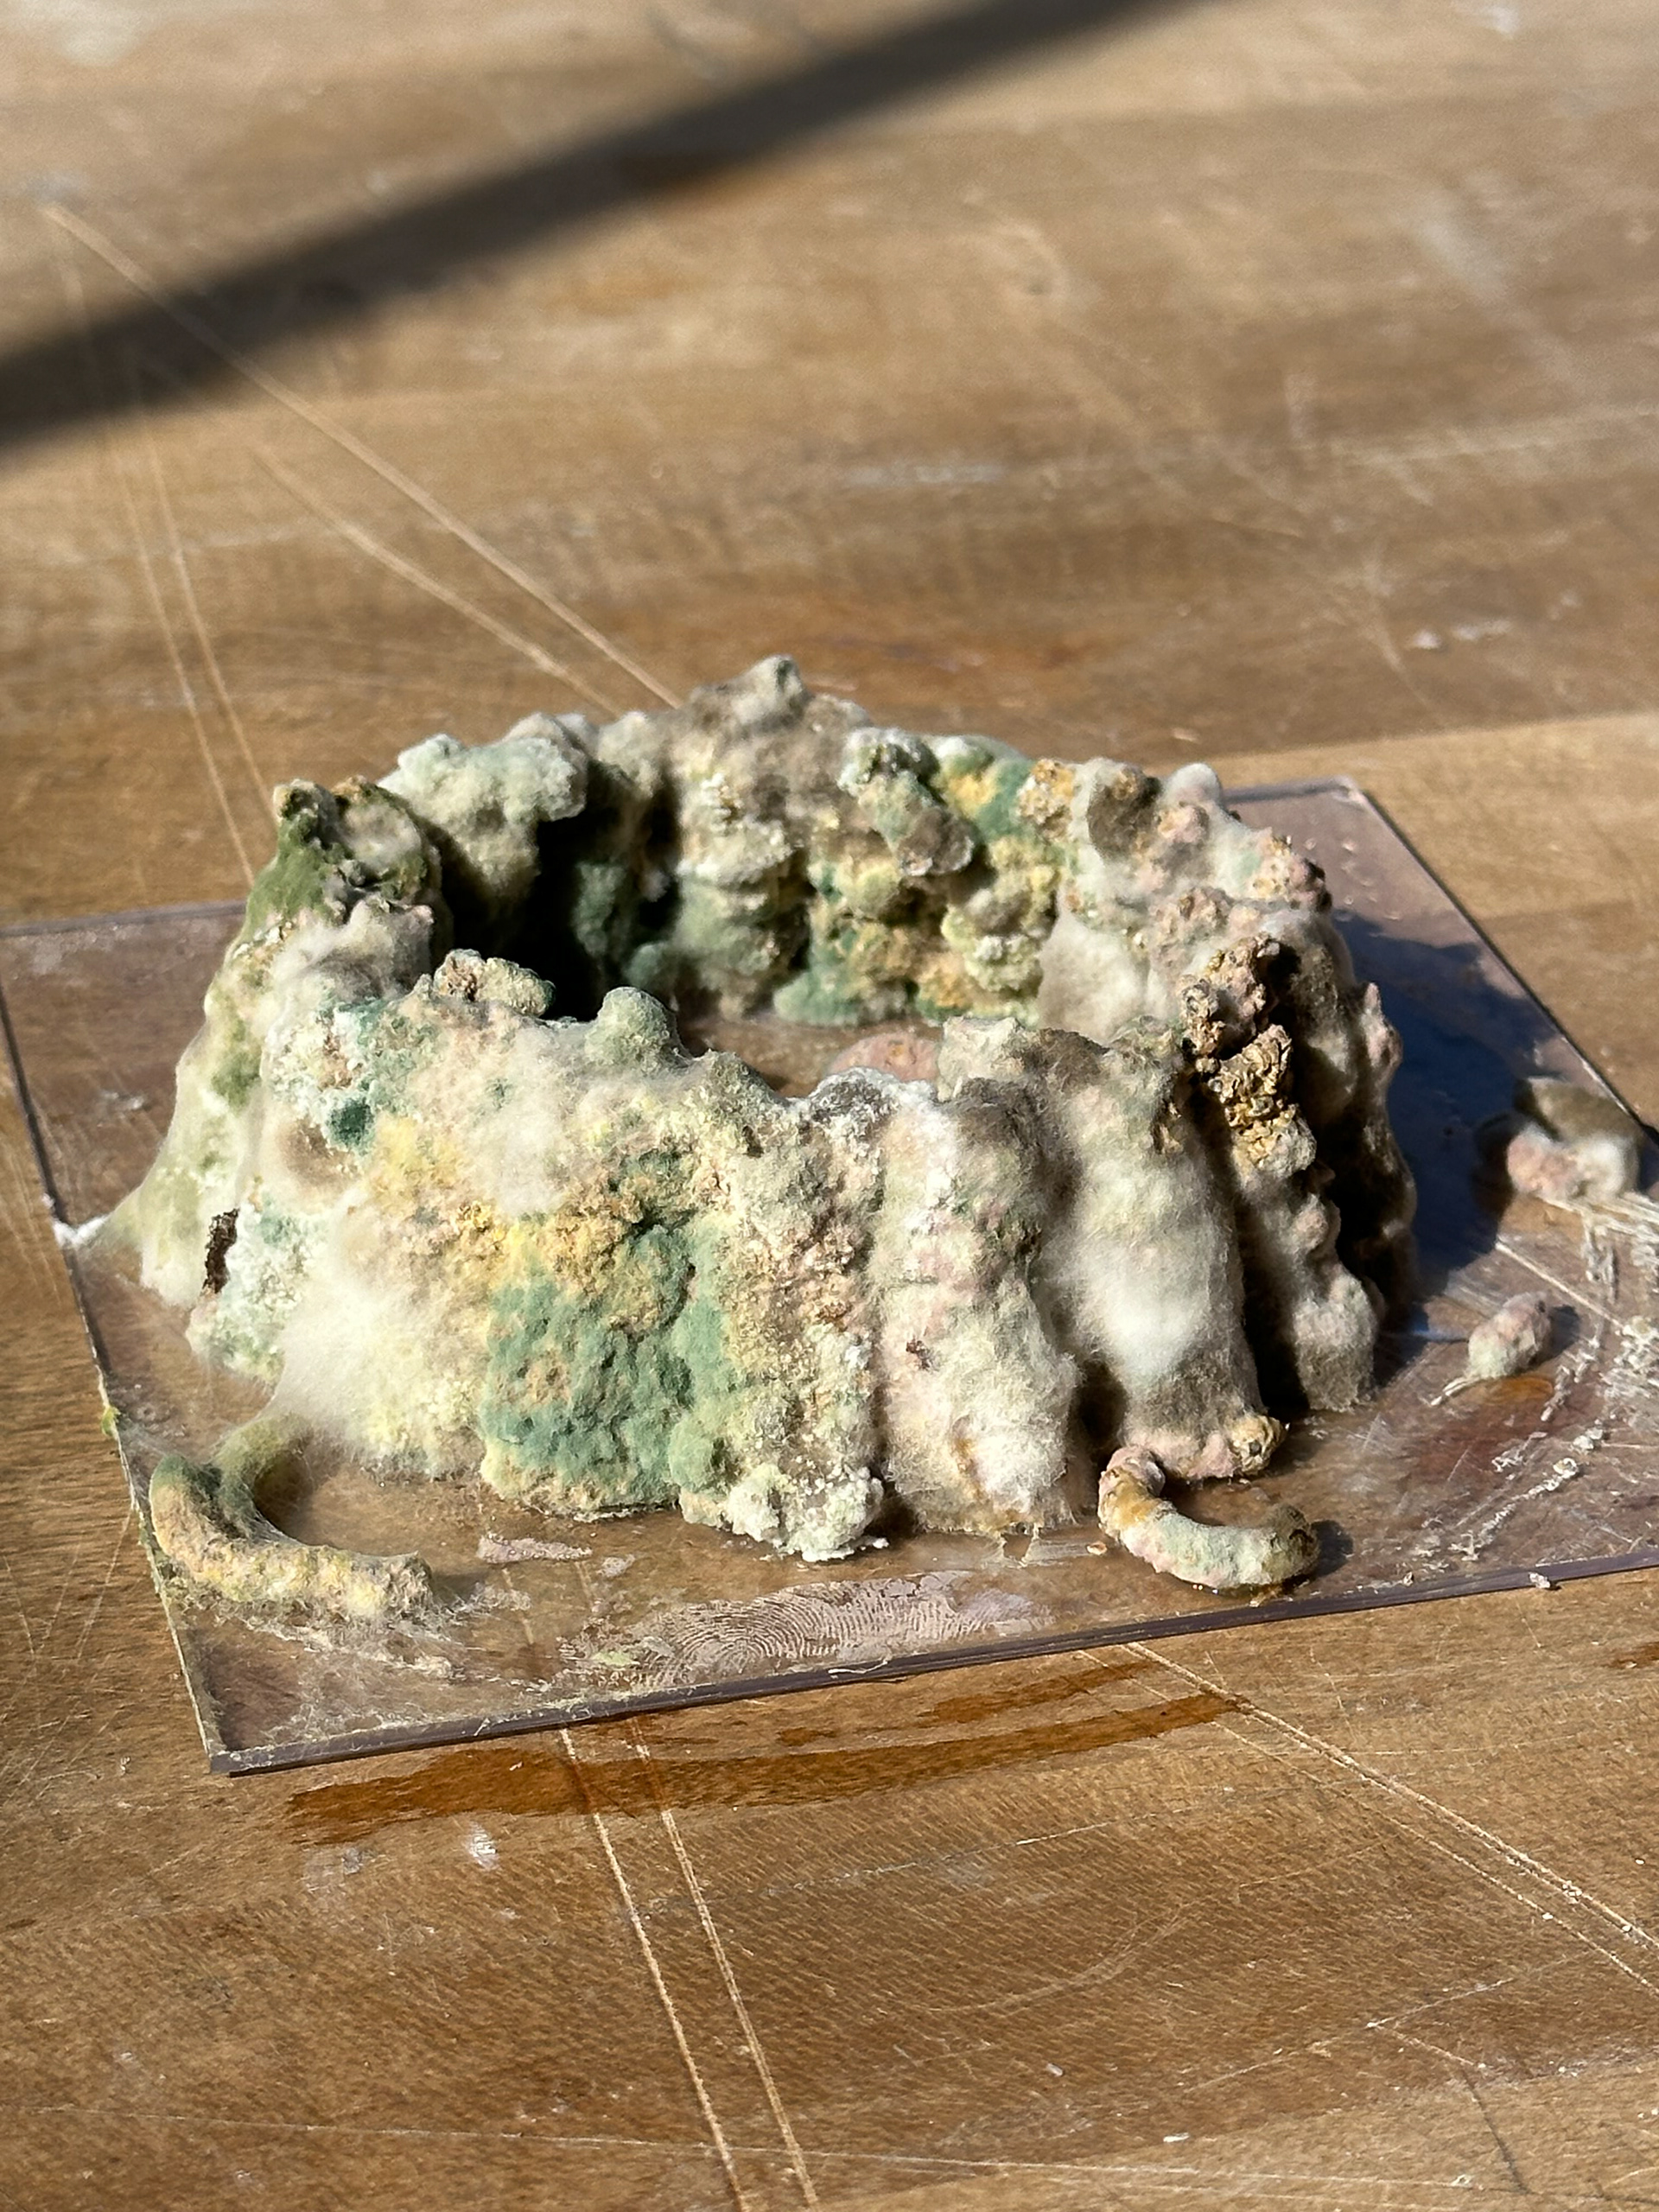
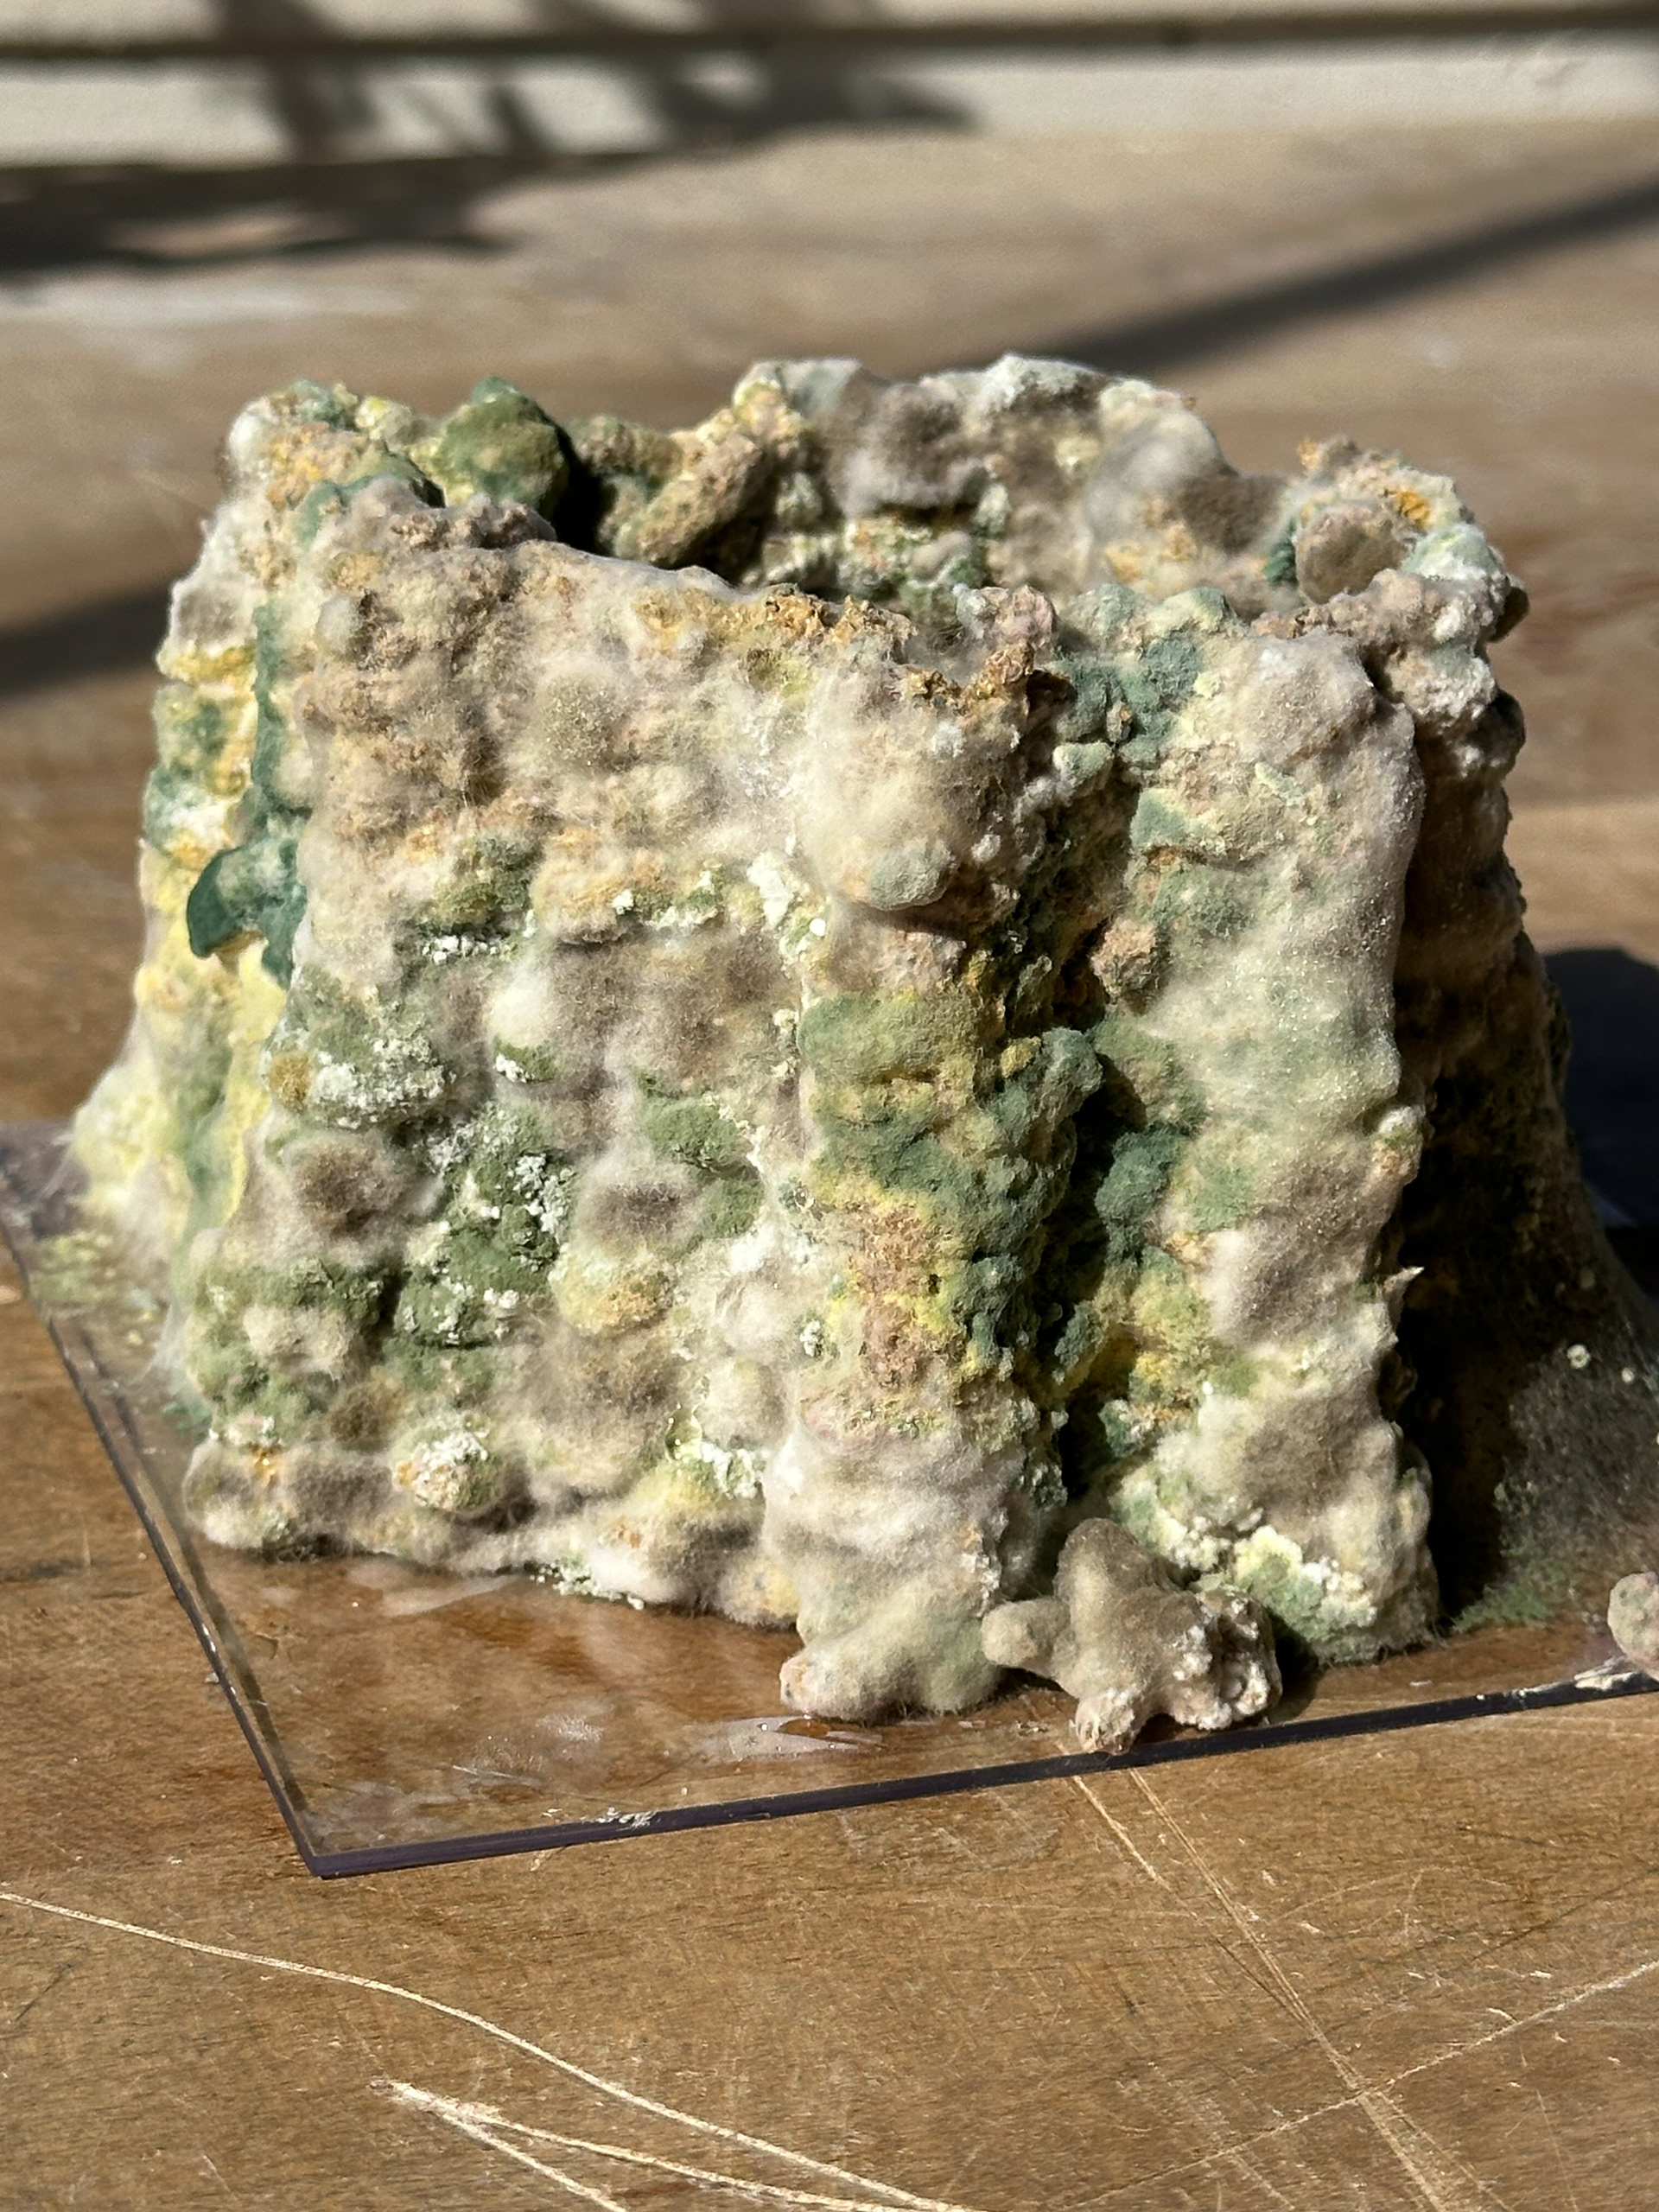
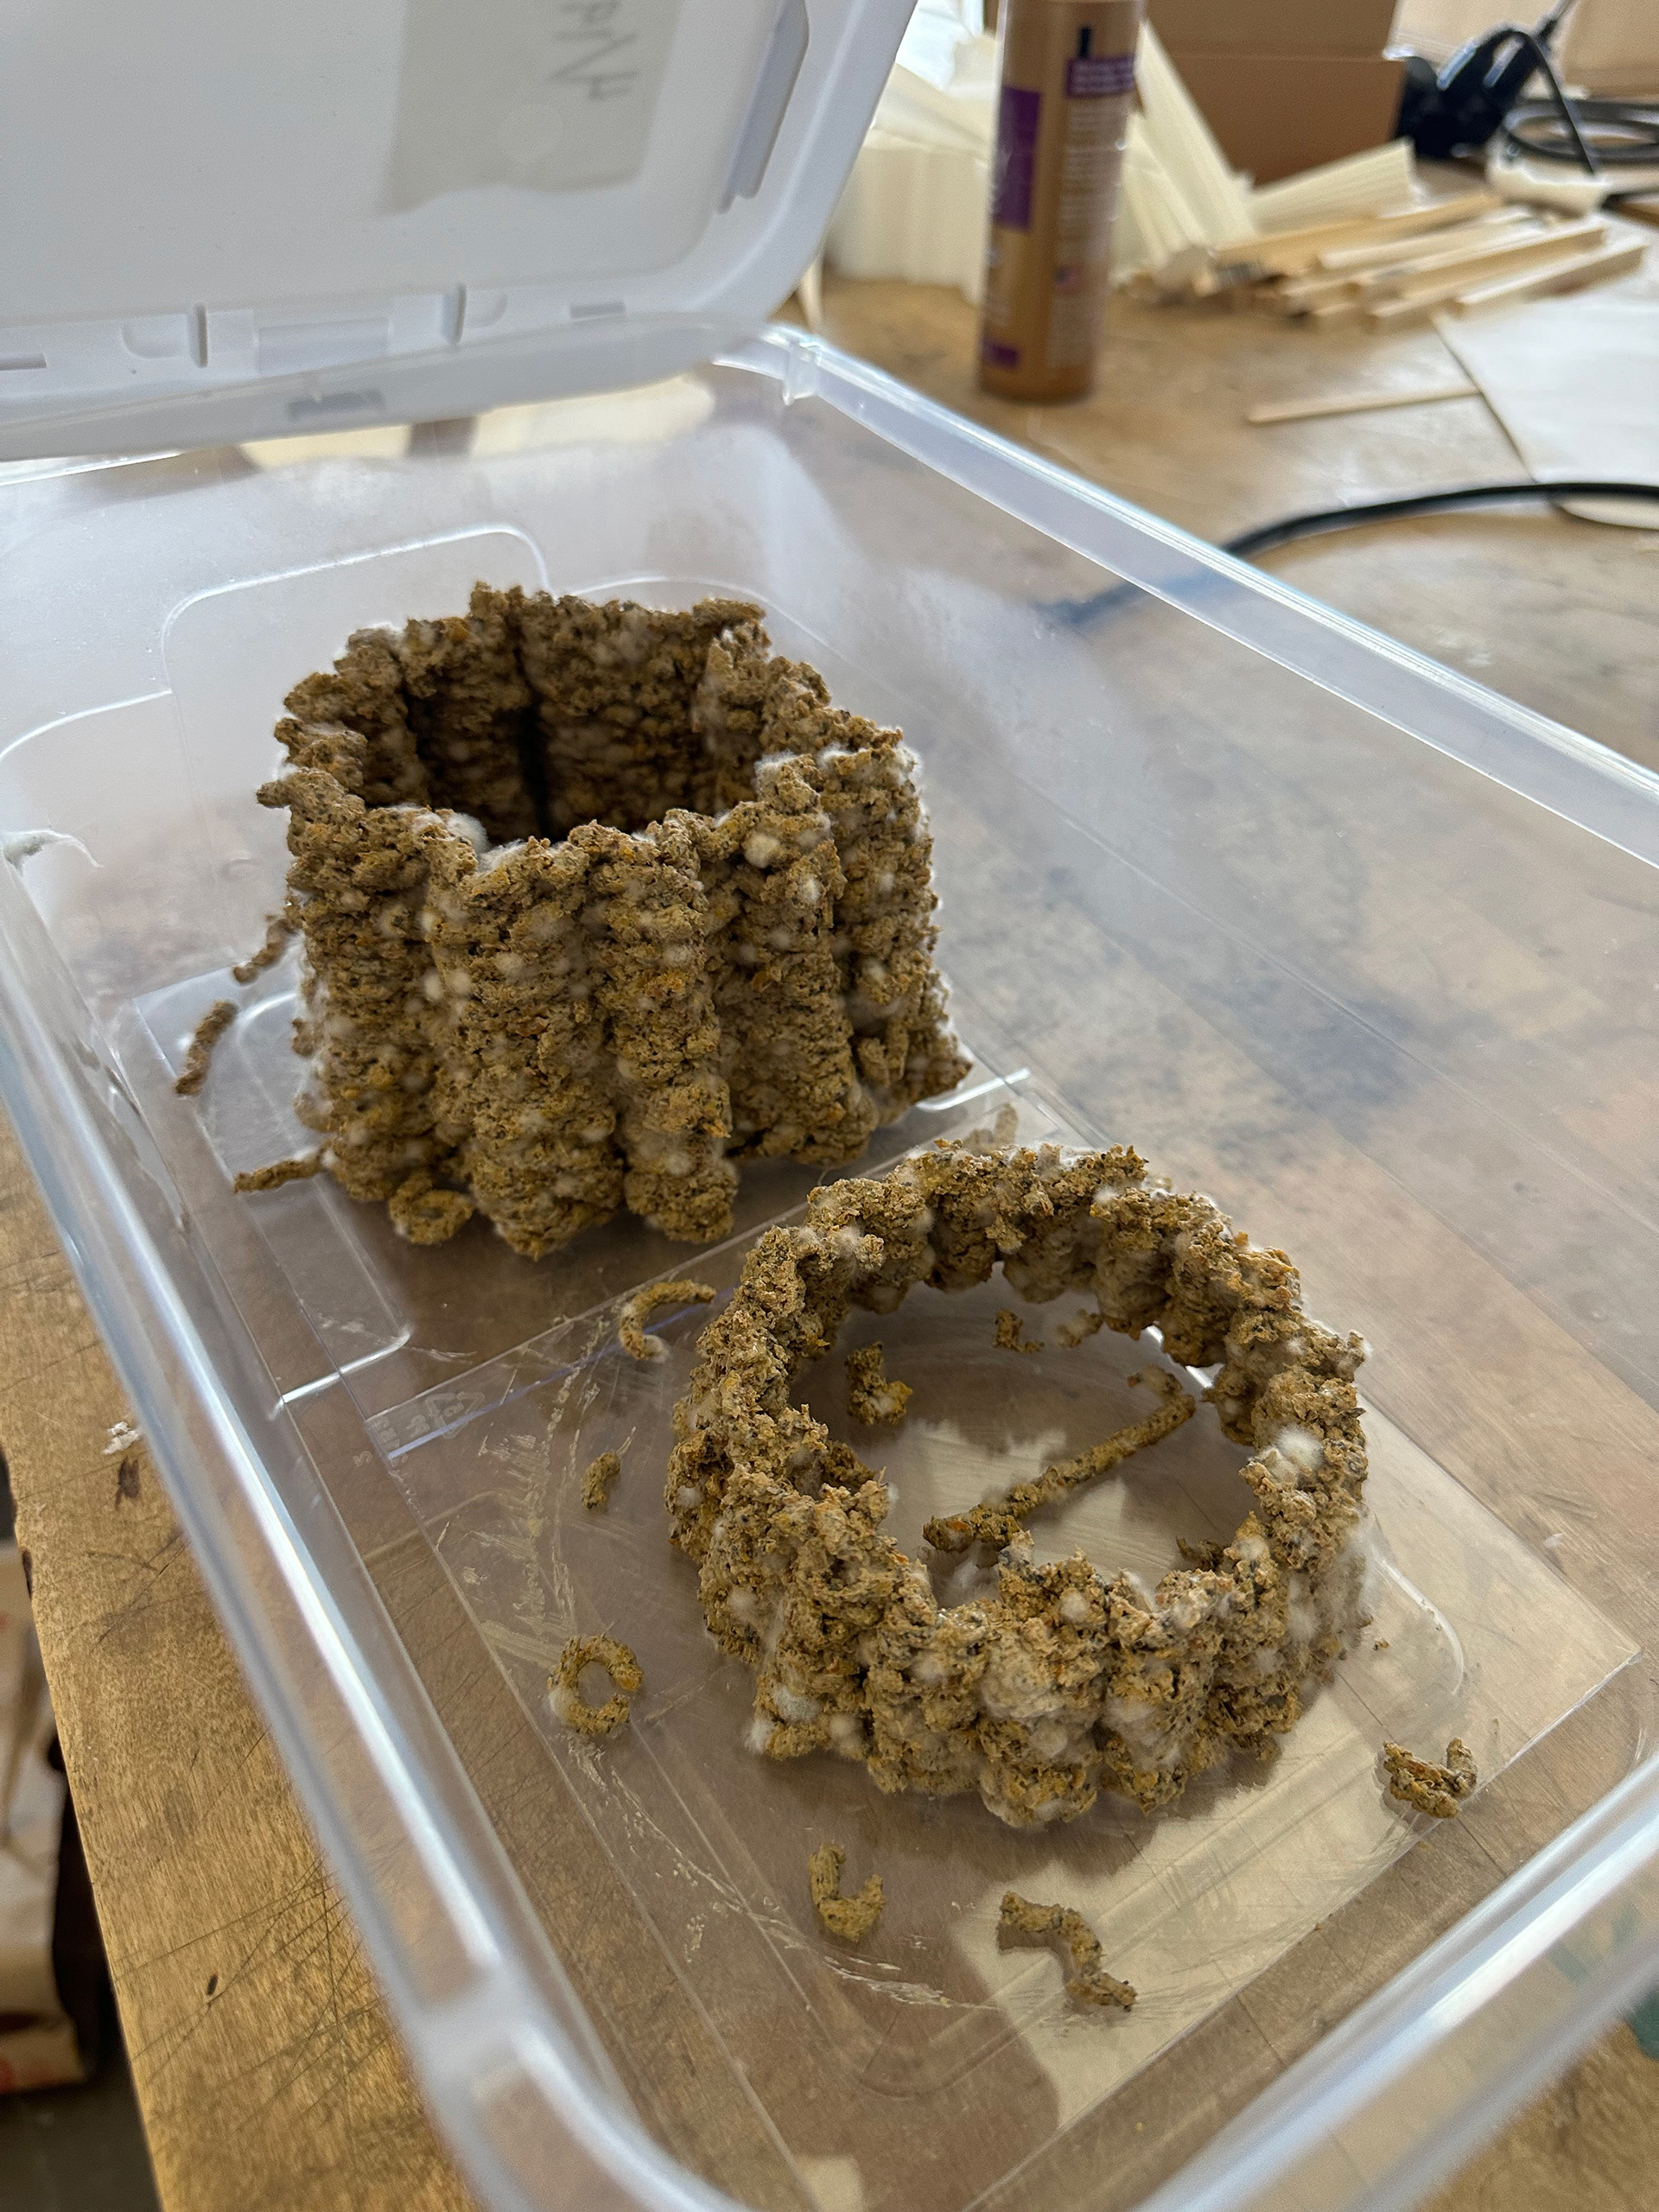
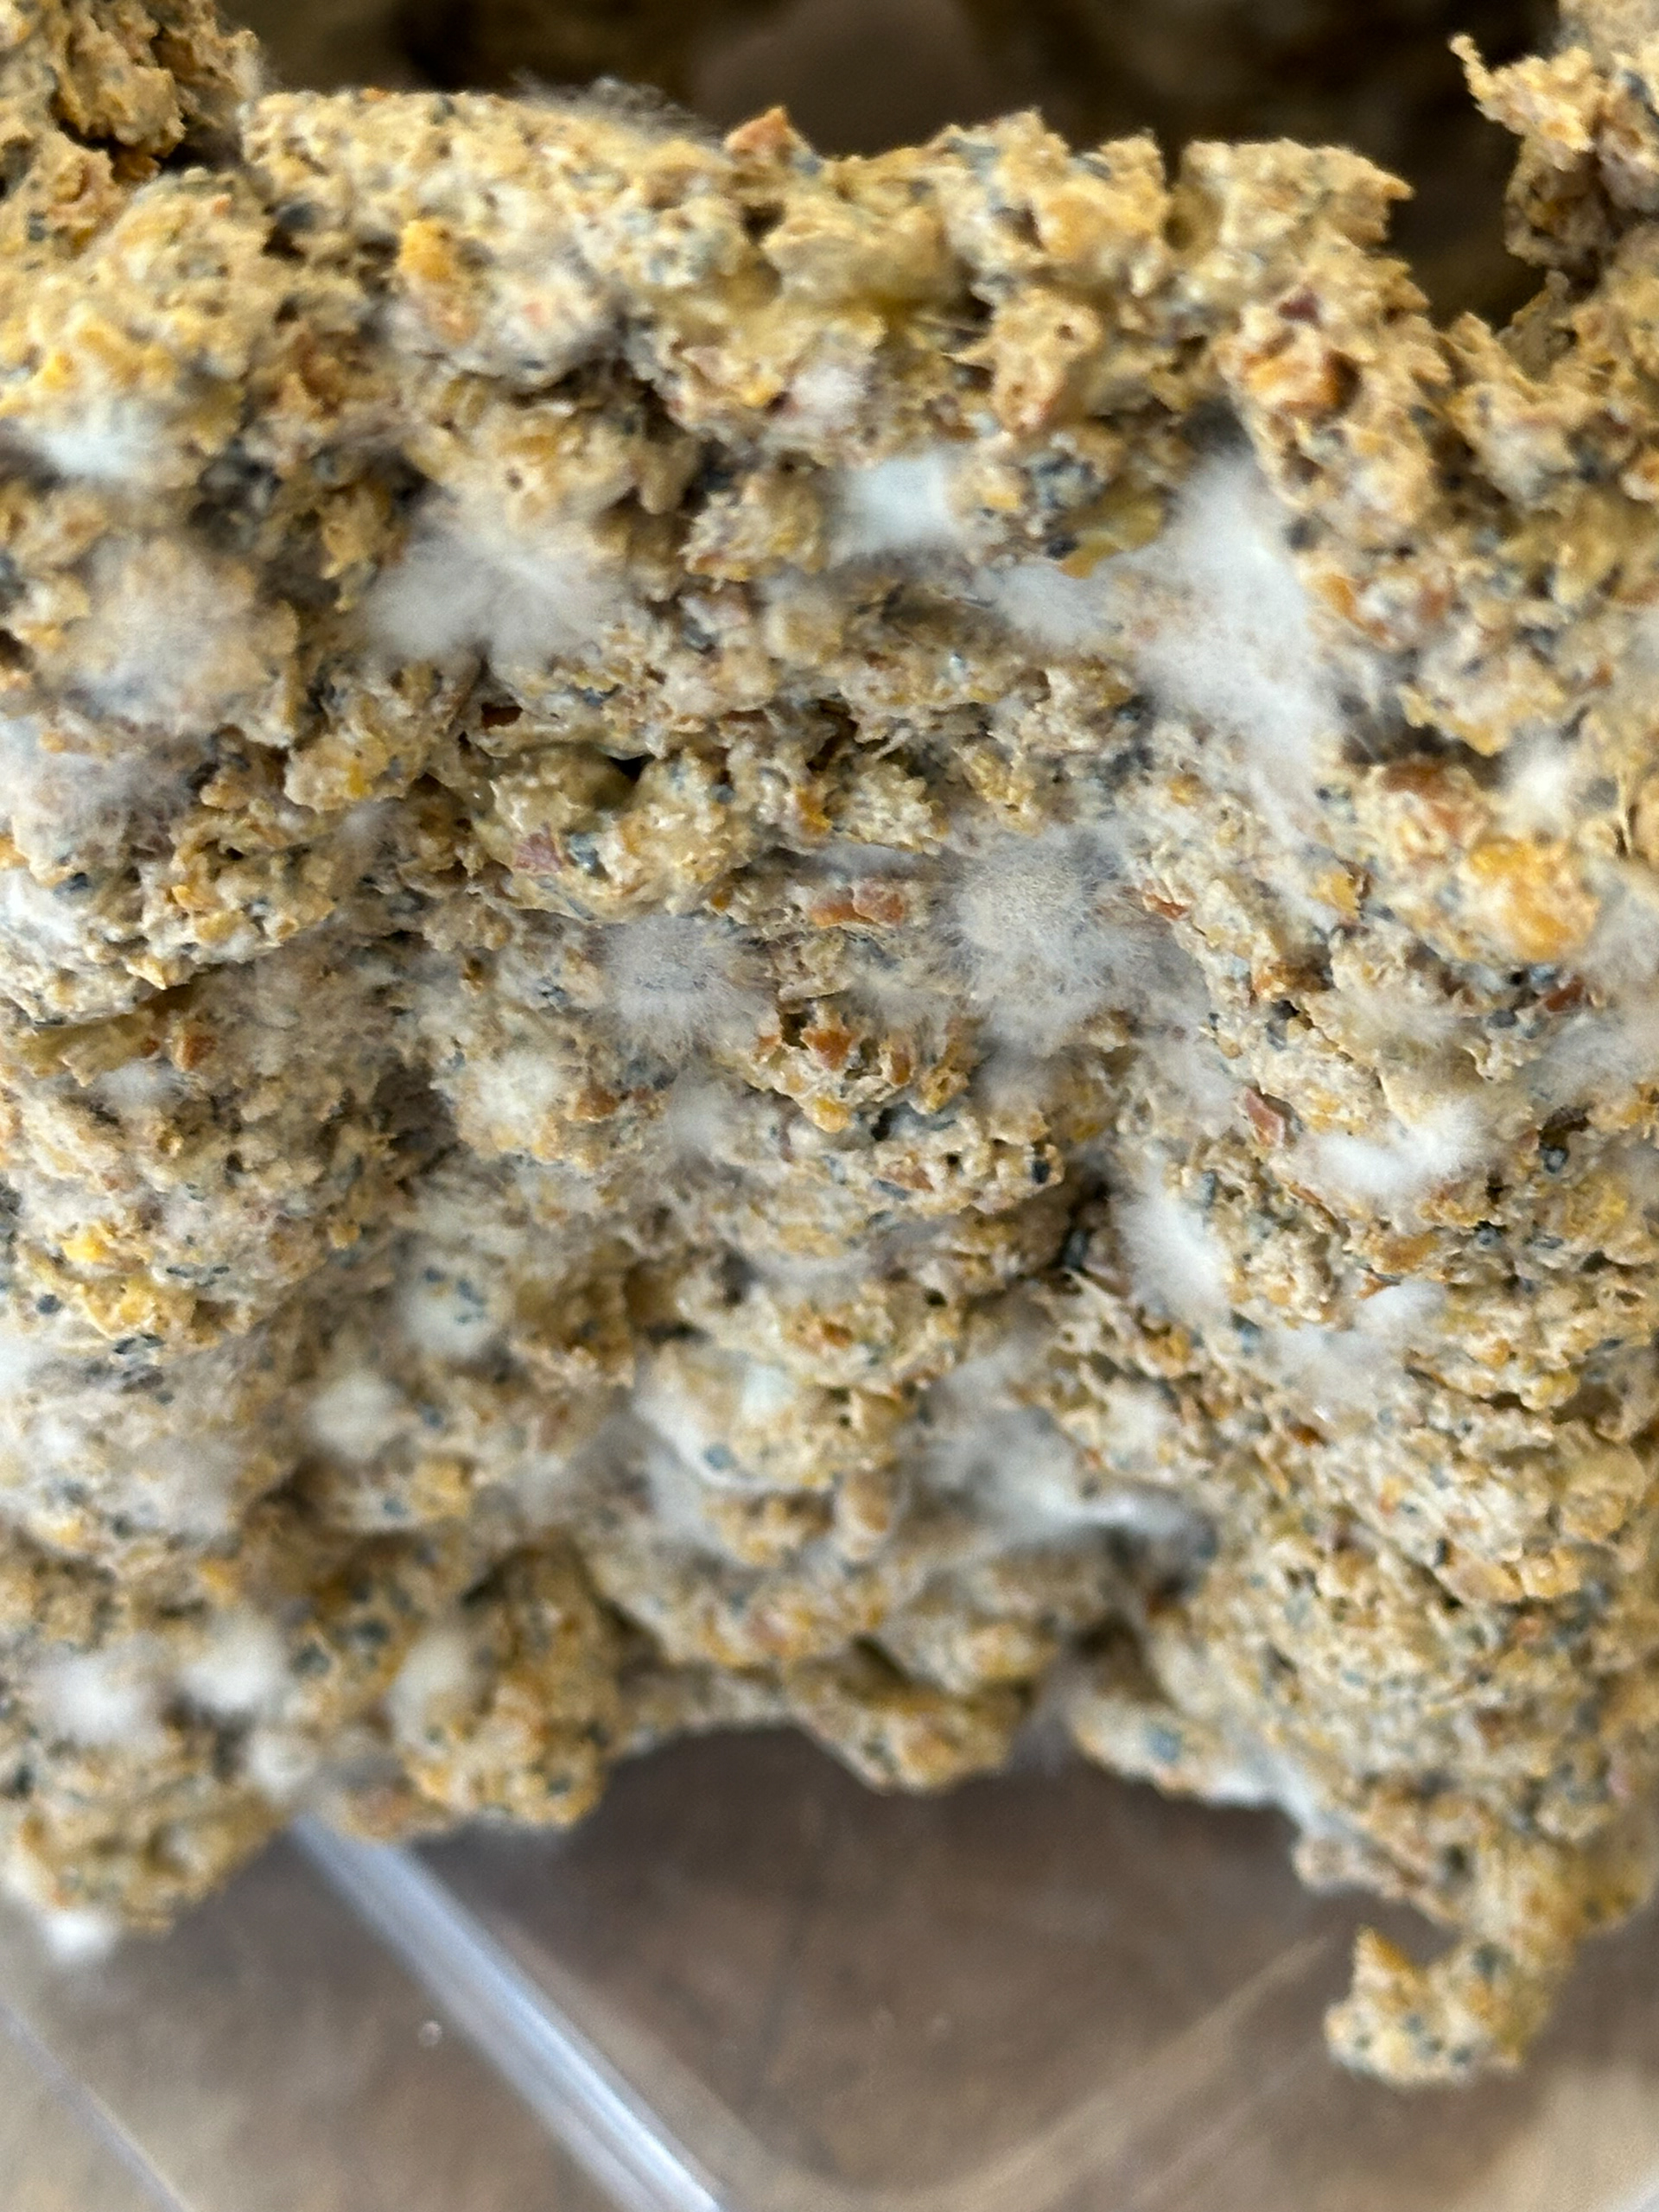
This project was focused on bio-material exploration, my focus was specifically on mycelium with an orange-based food substrate. Using additive manufacturing (i.e. extrusion), layers of mycelium infused material are deposited in coordination with gcode from a print file. Though curing, drying, and treatment, the forms will be incubated to assist and ensure the mycelium is in a clean & sterile environment. My explorations had successes and failures throughout all processes. The final prints and structural integrity of the bio-material was successful, however, the forms were exposed to bacteria causing mold to take over. Afterwards, a leftover container was found to have pure white mycelium growth on the material, meaning that the mold-susceptible orange base was a viable growing medium for the mycelium.
Material Properties:
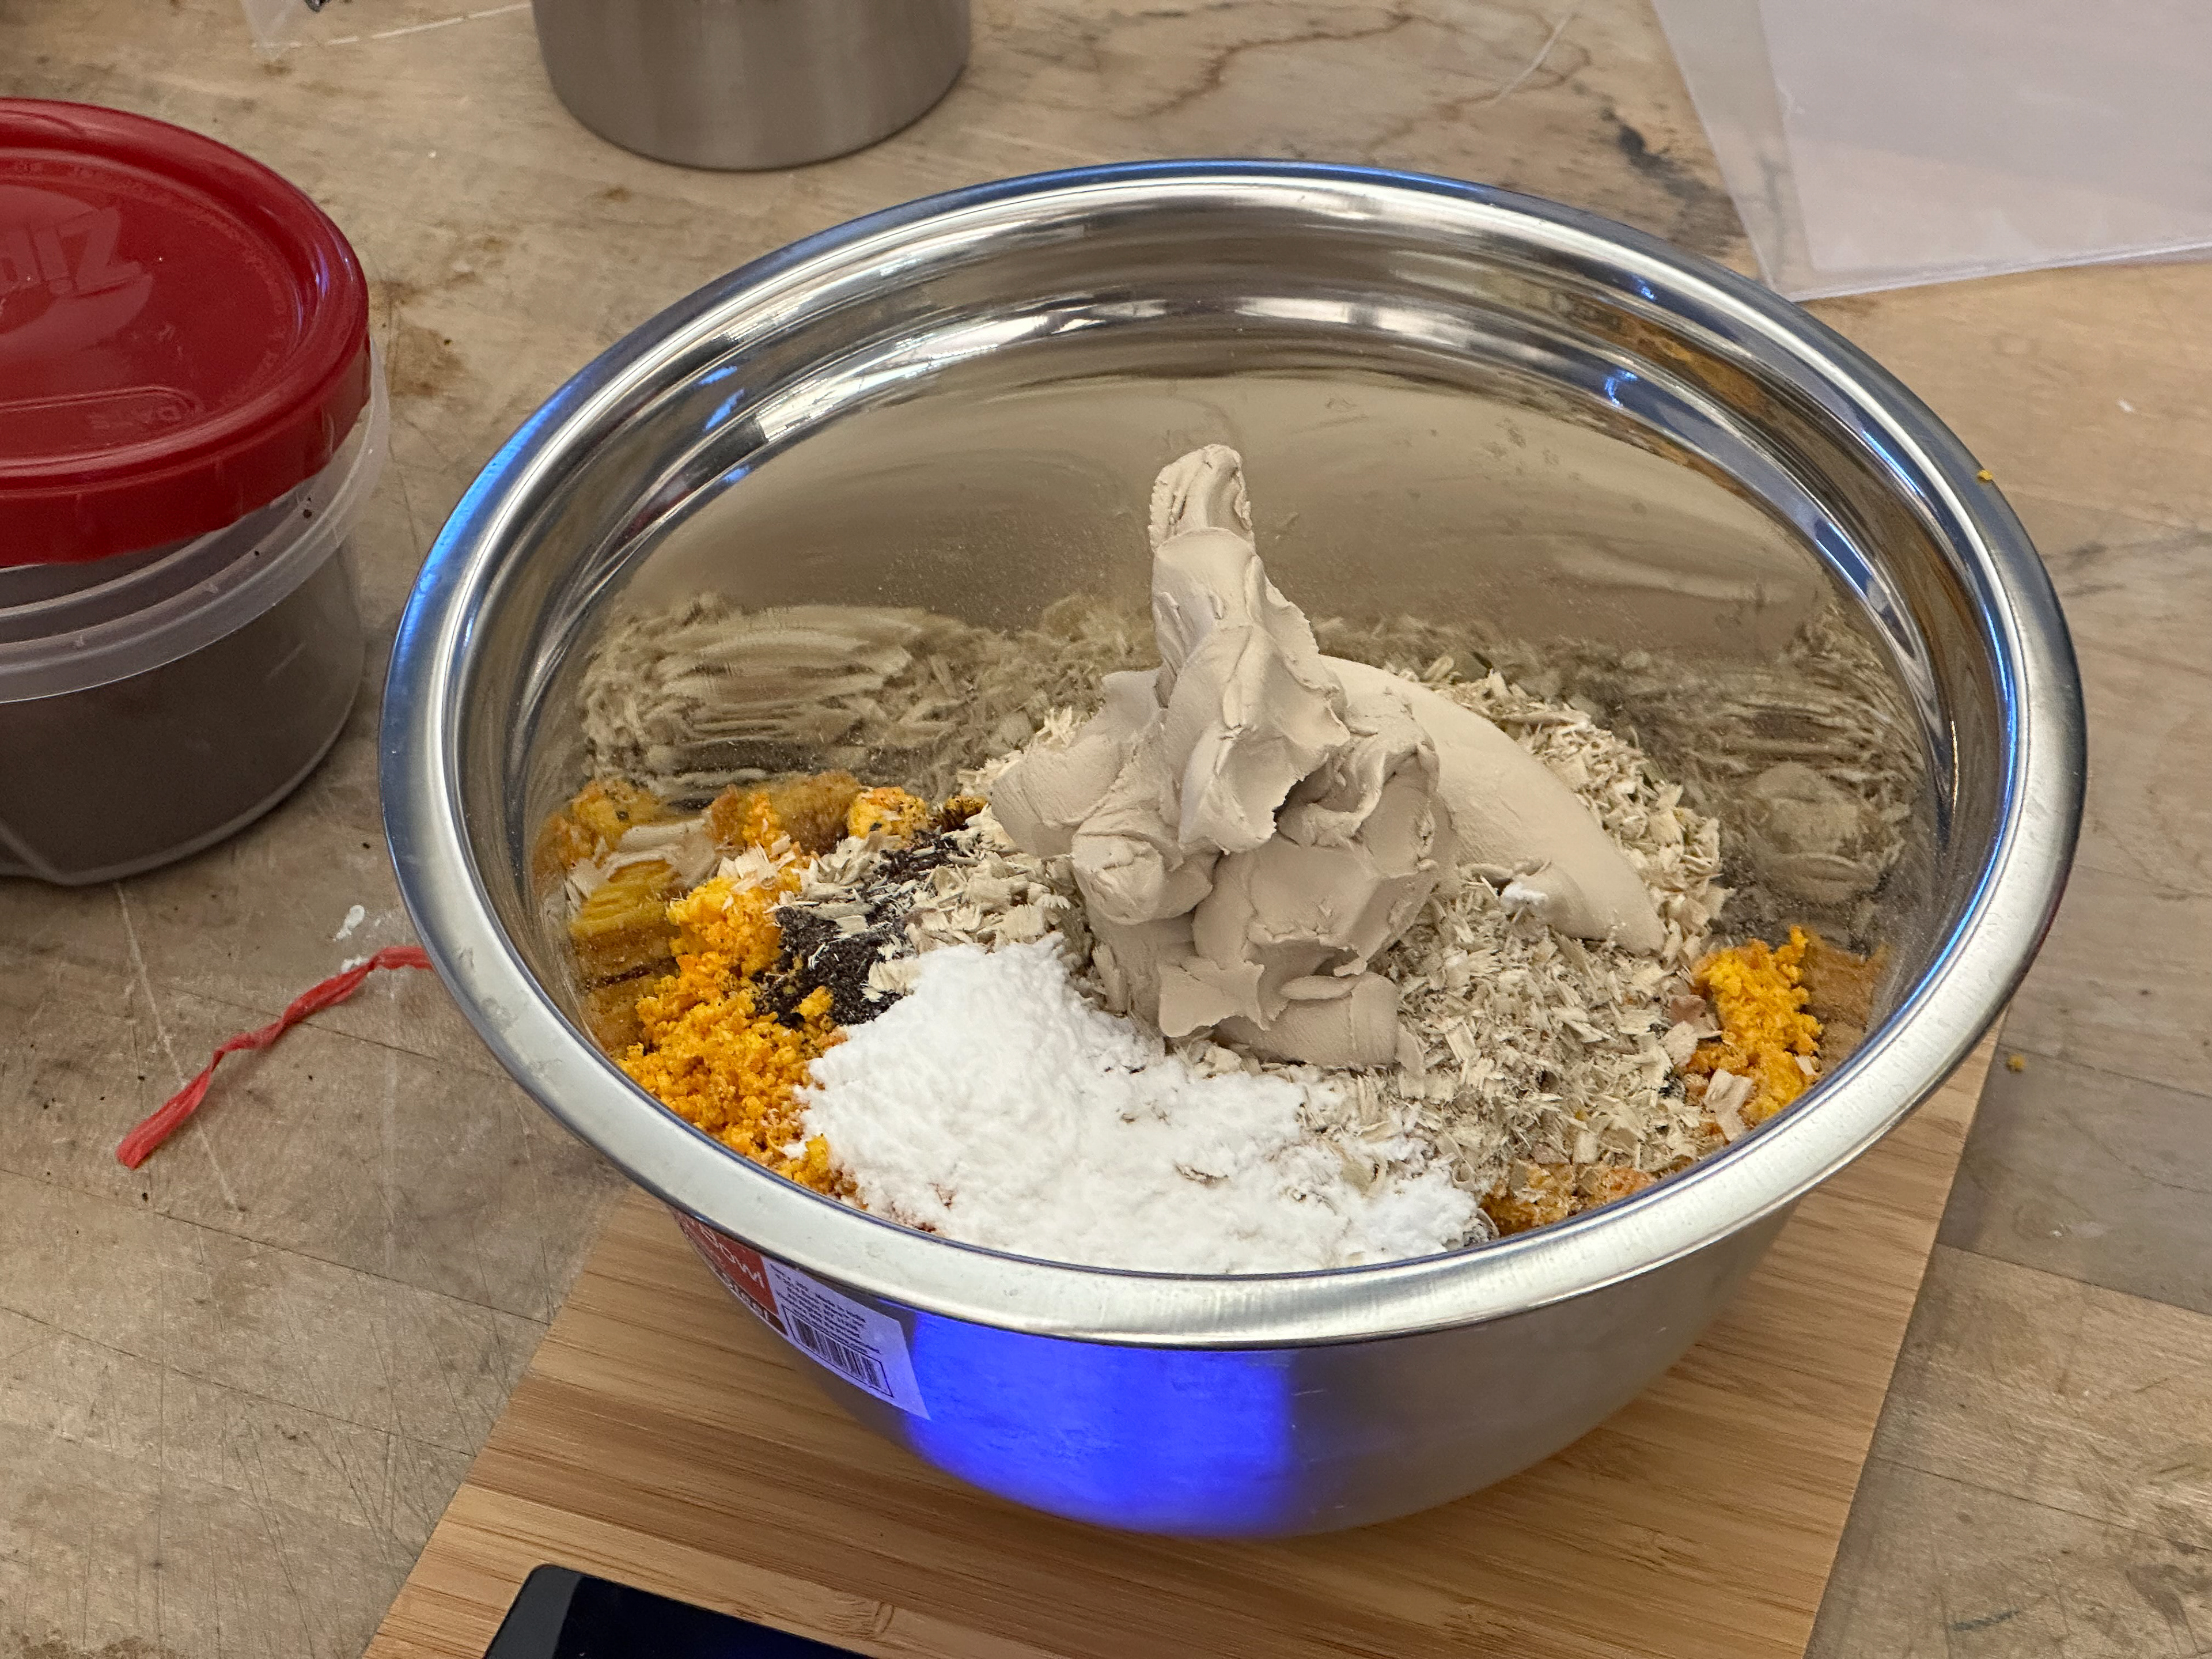
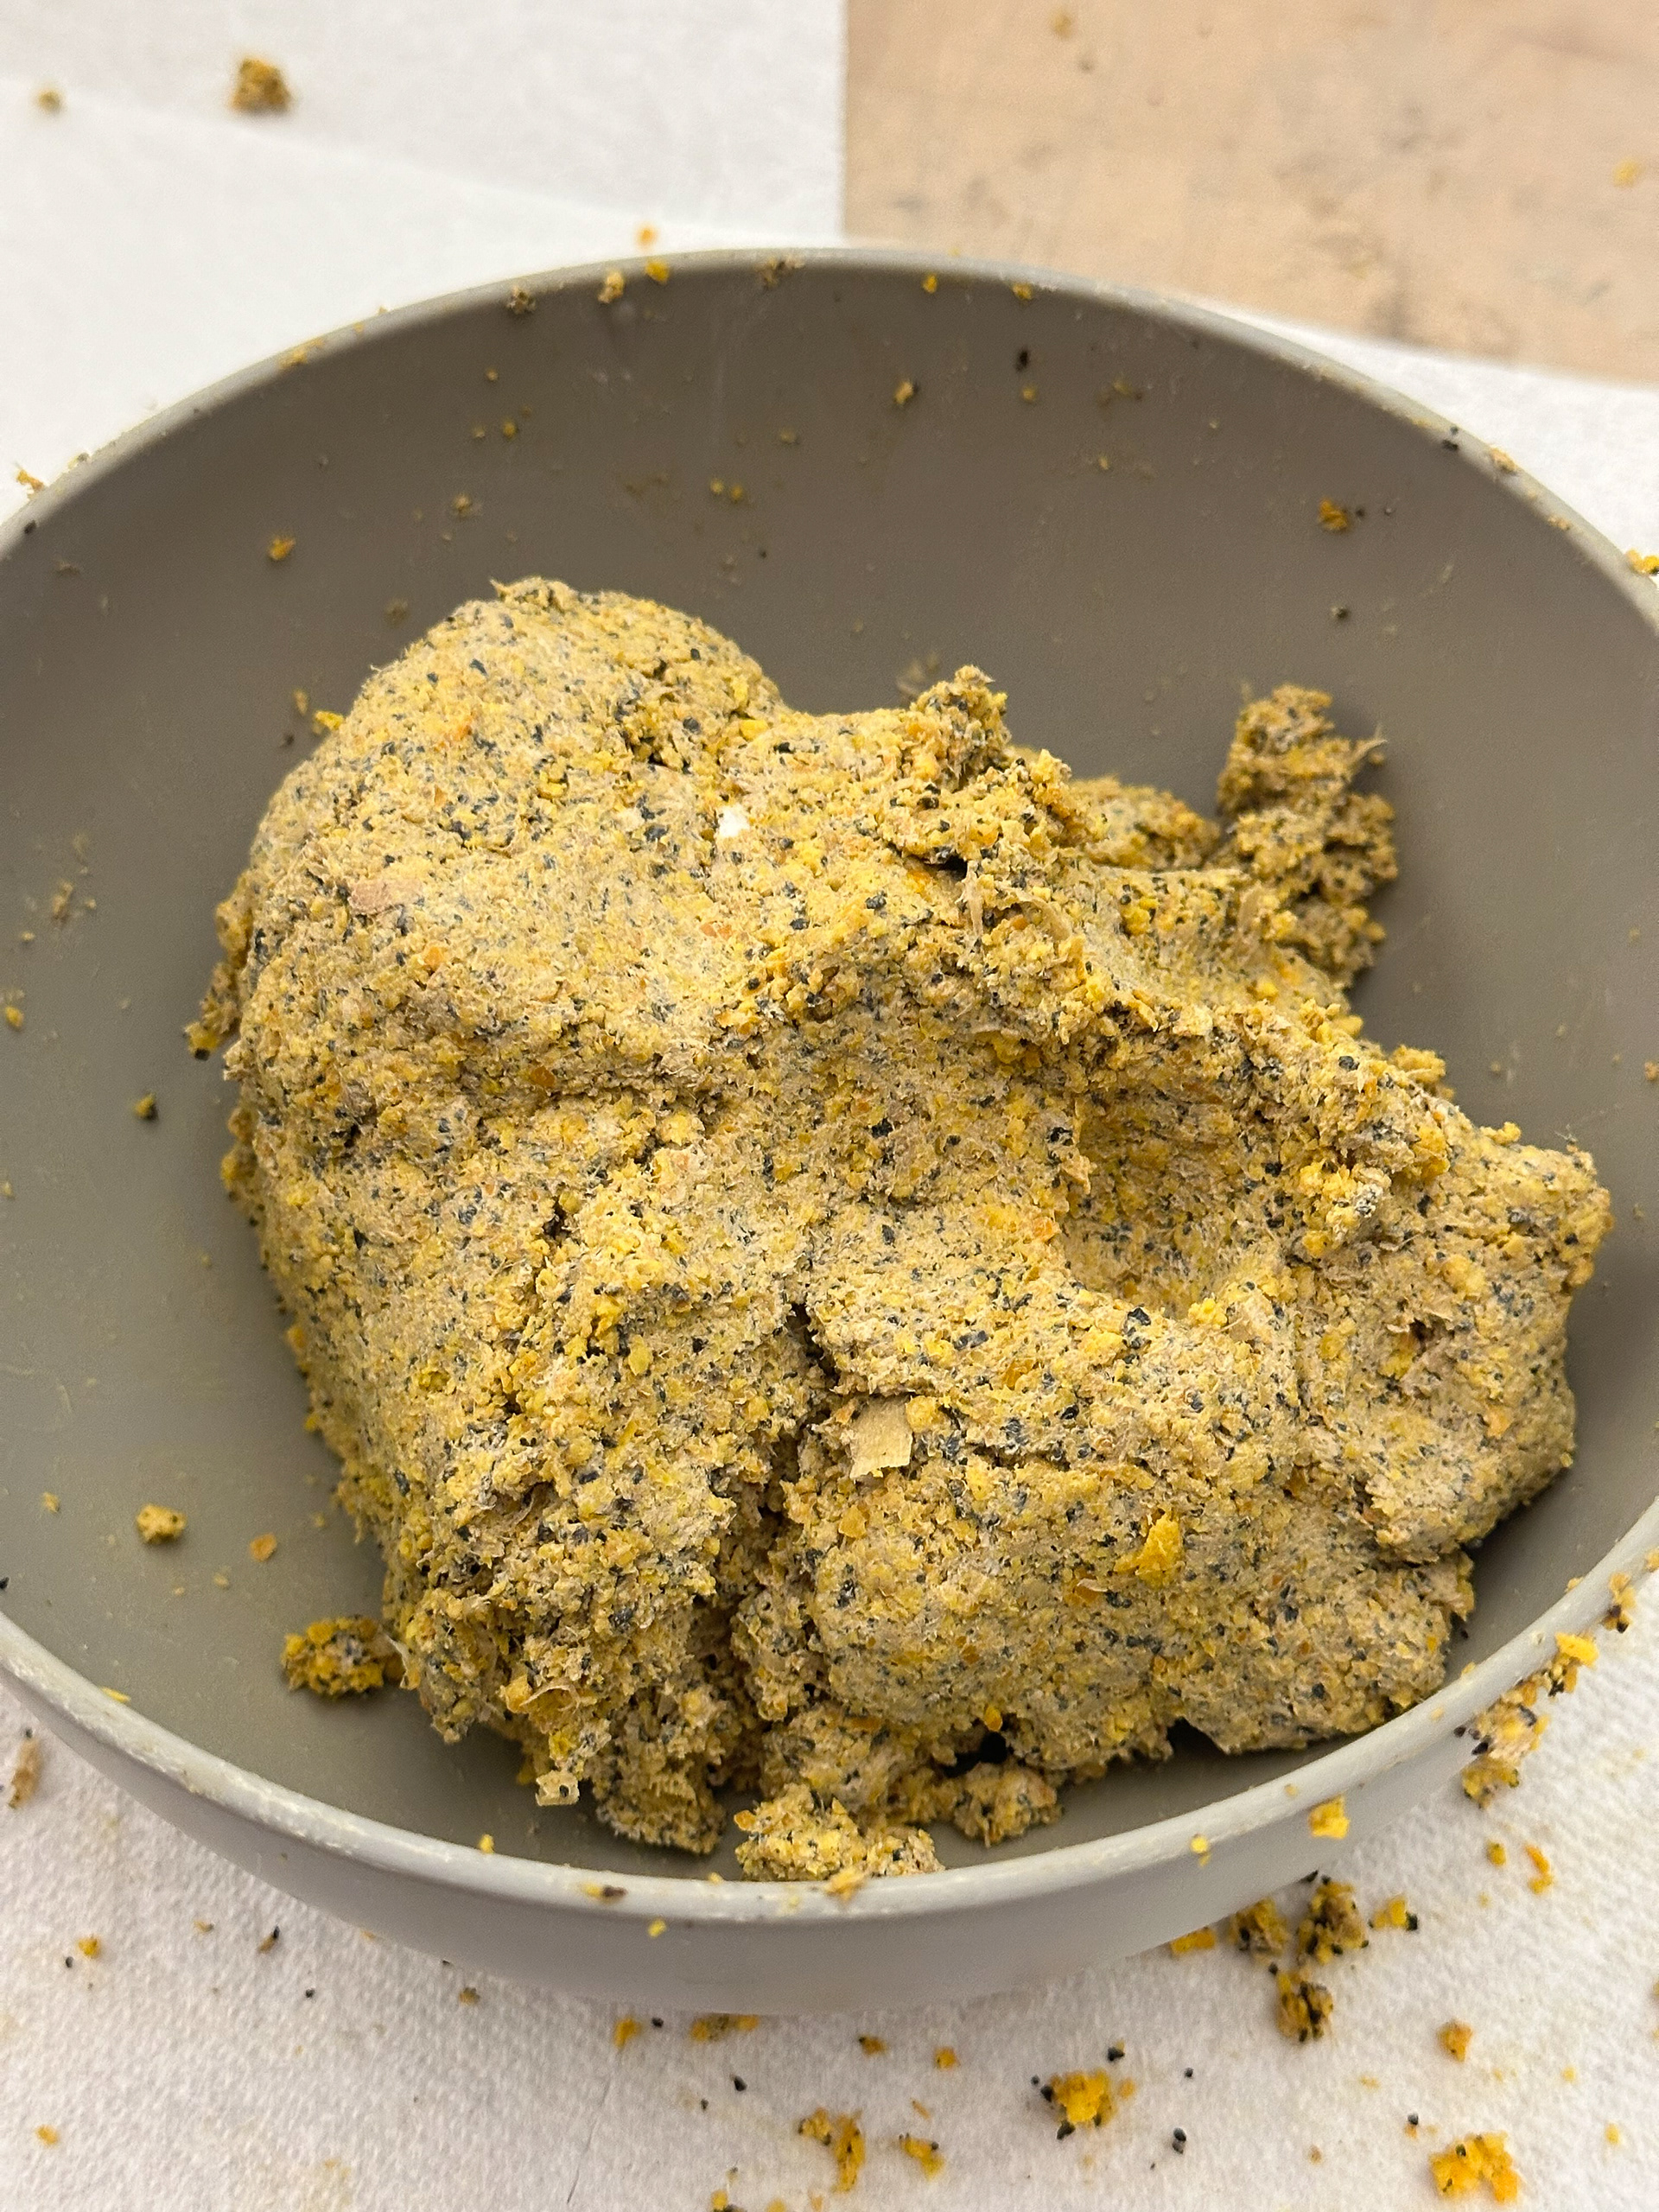
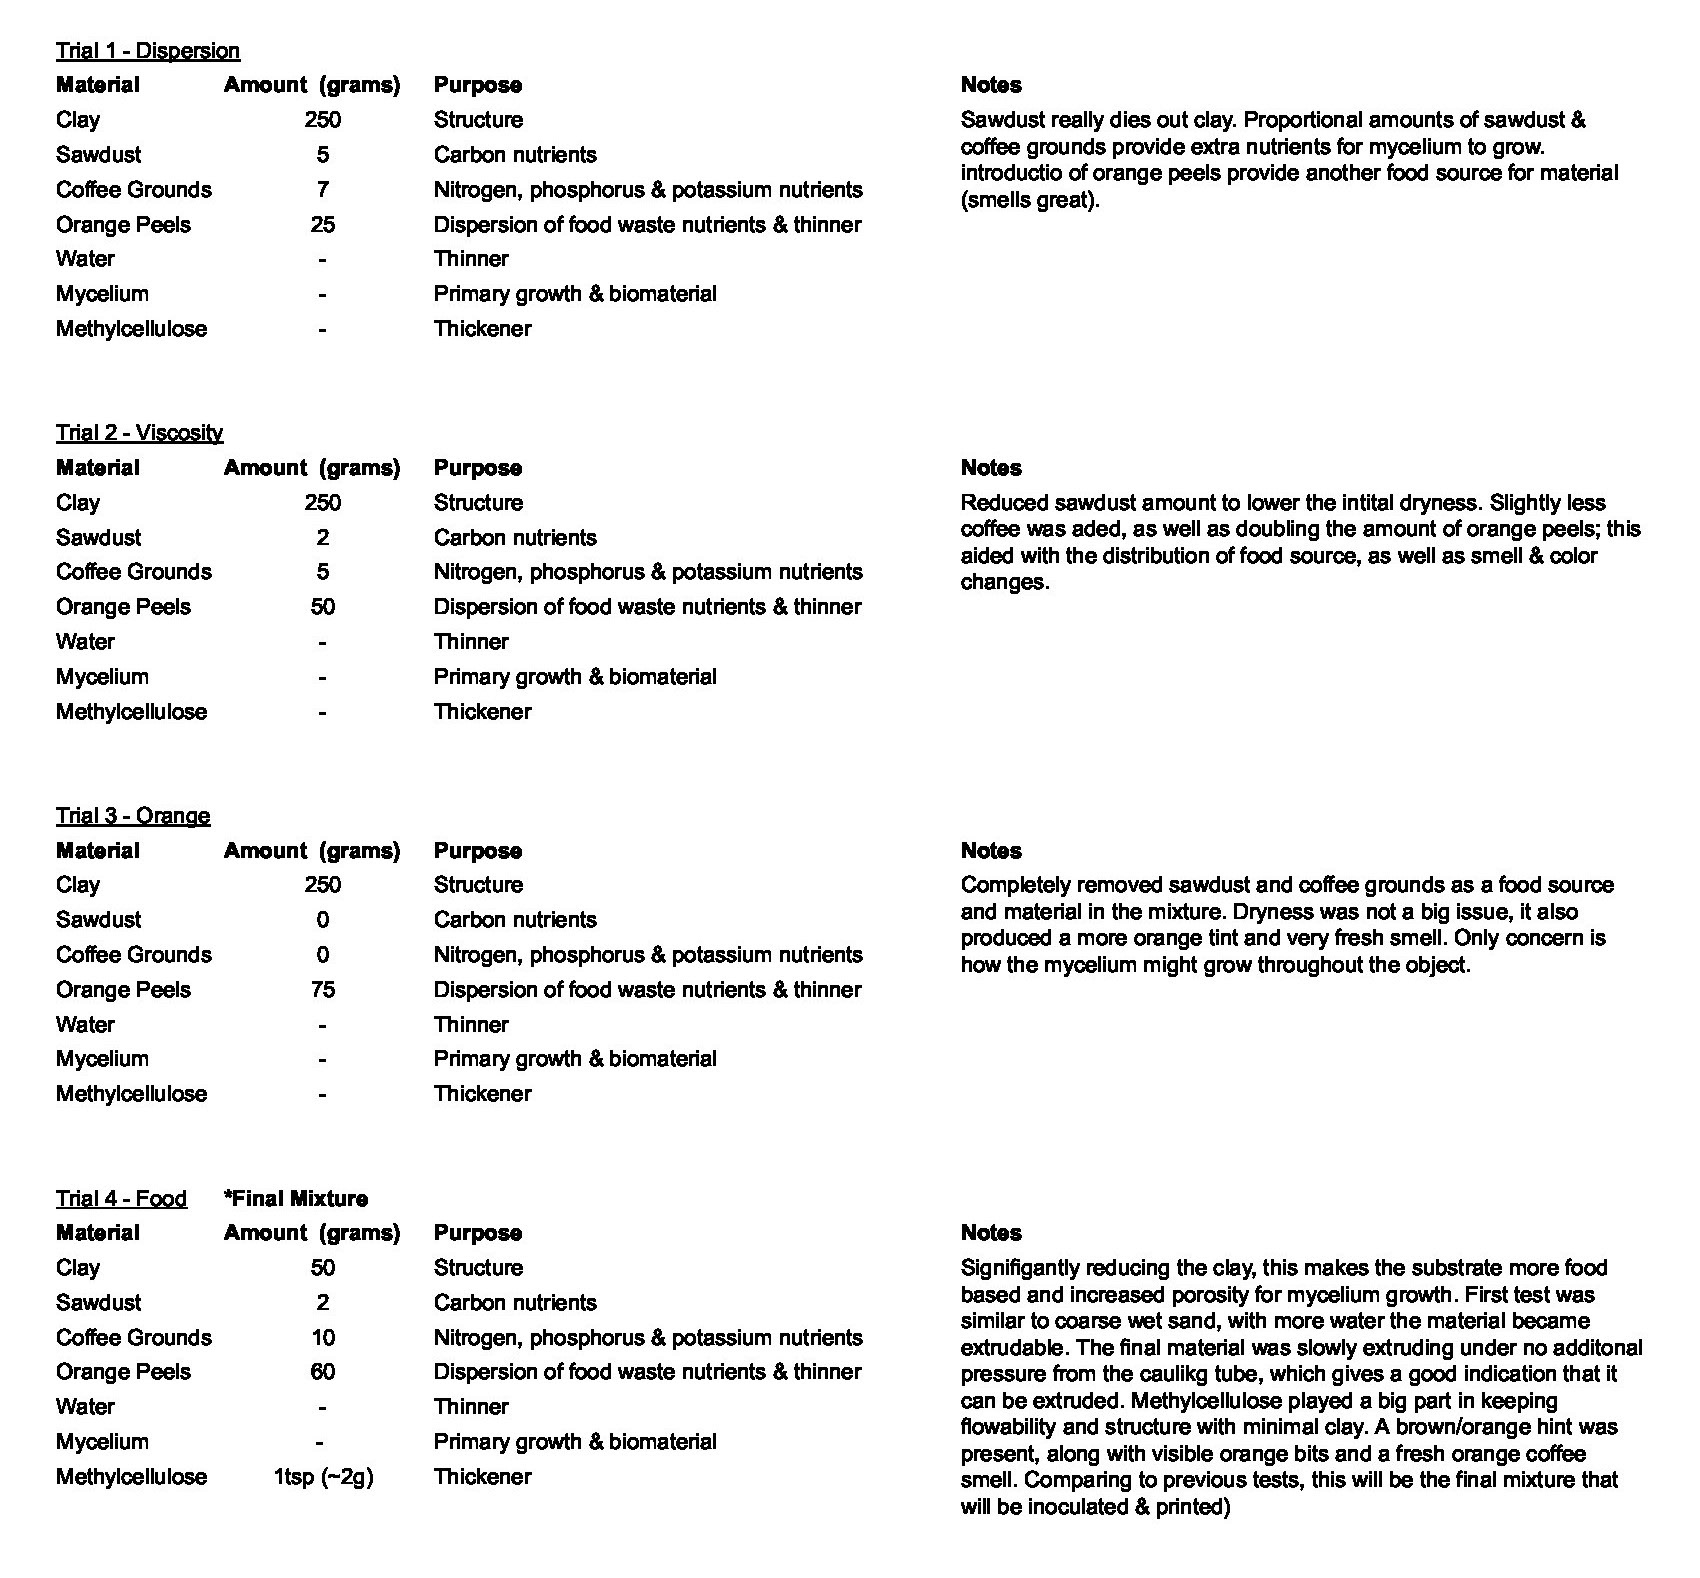
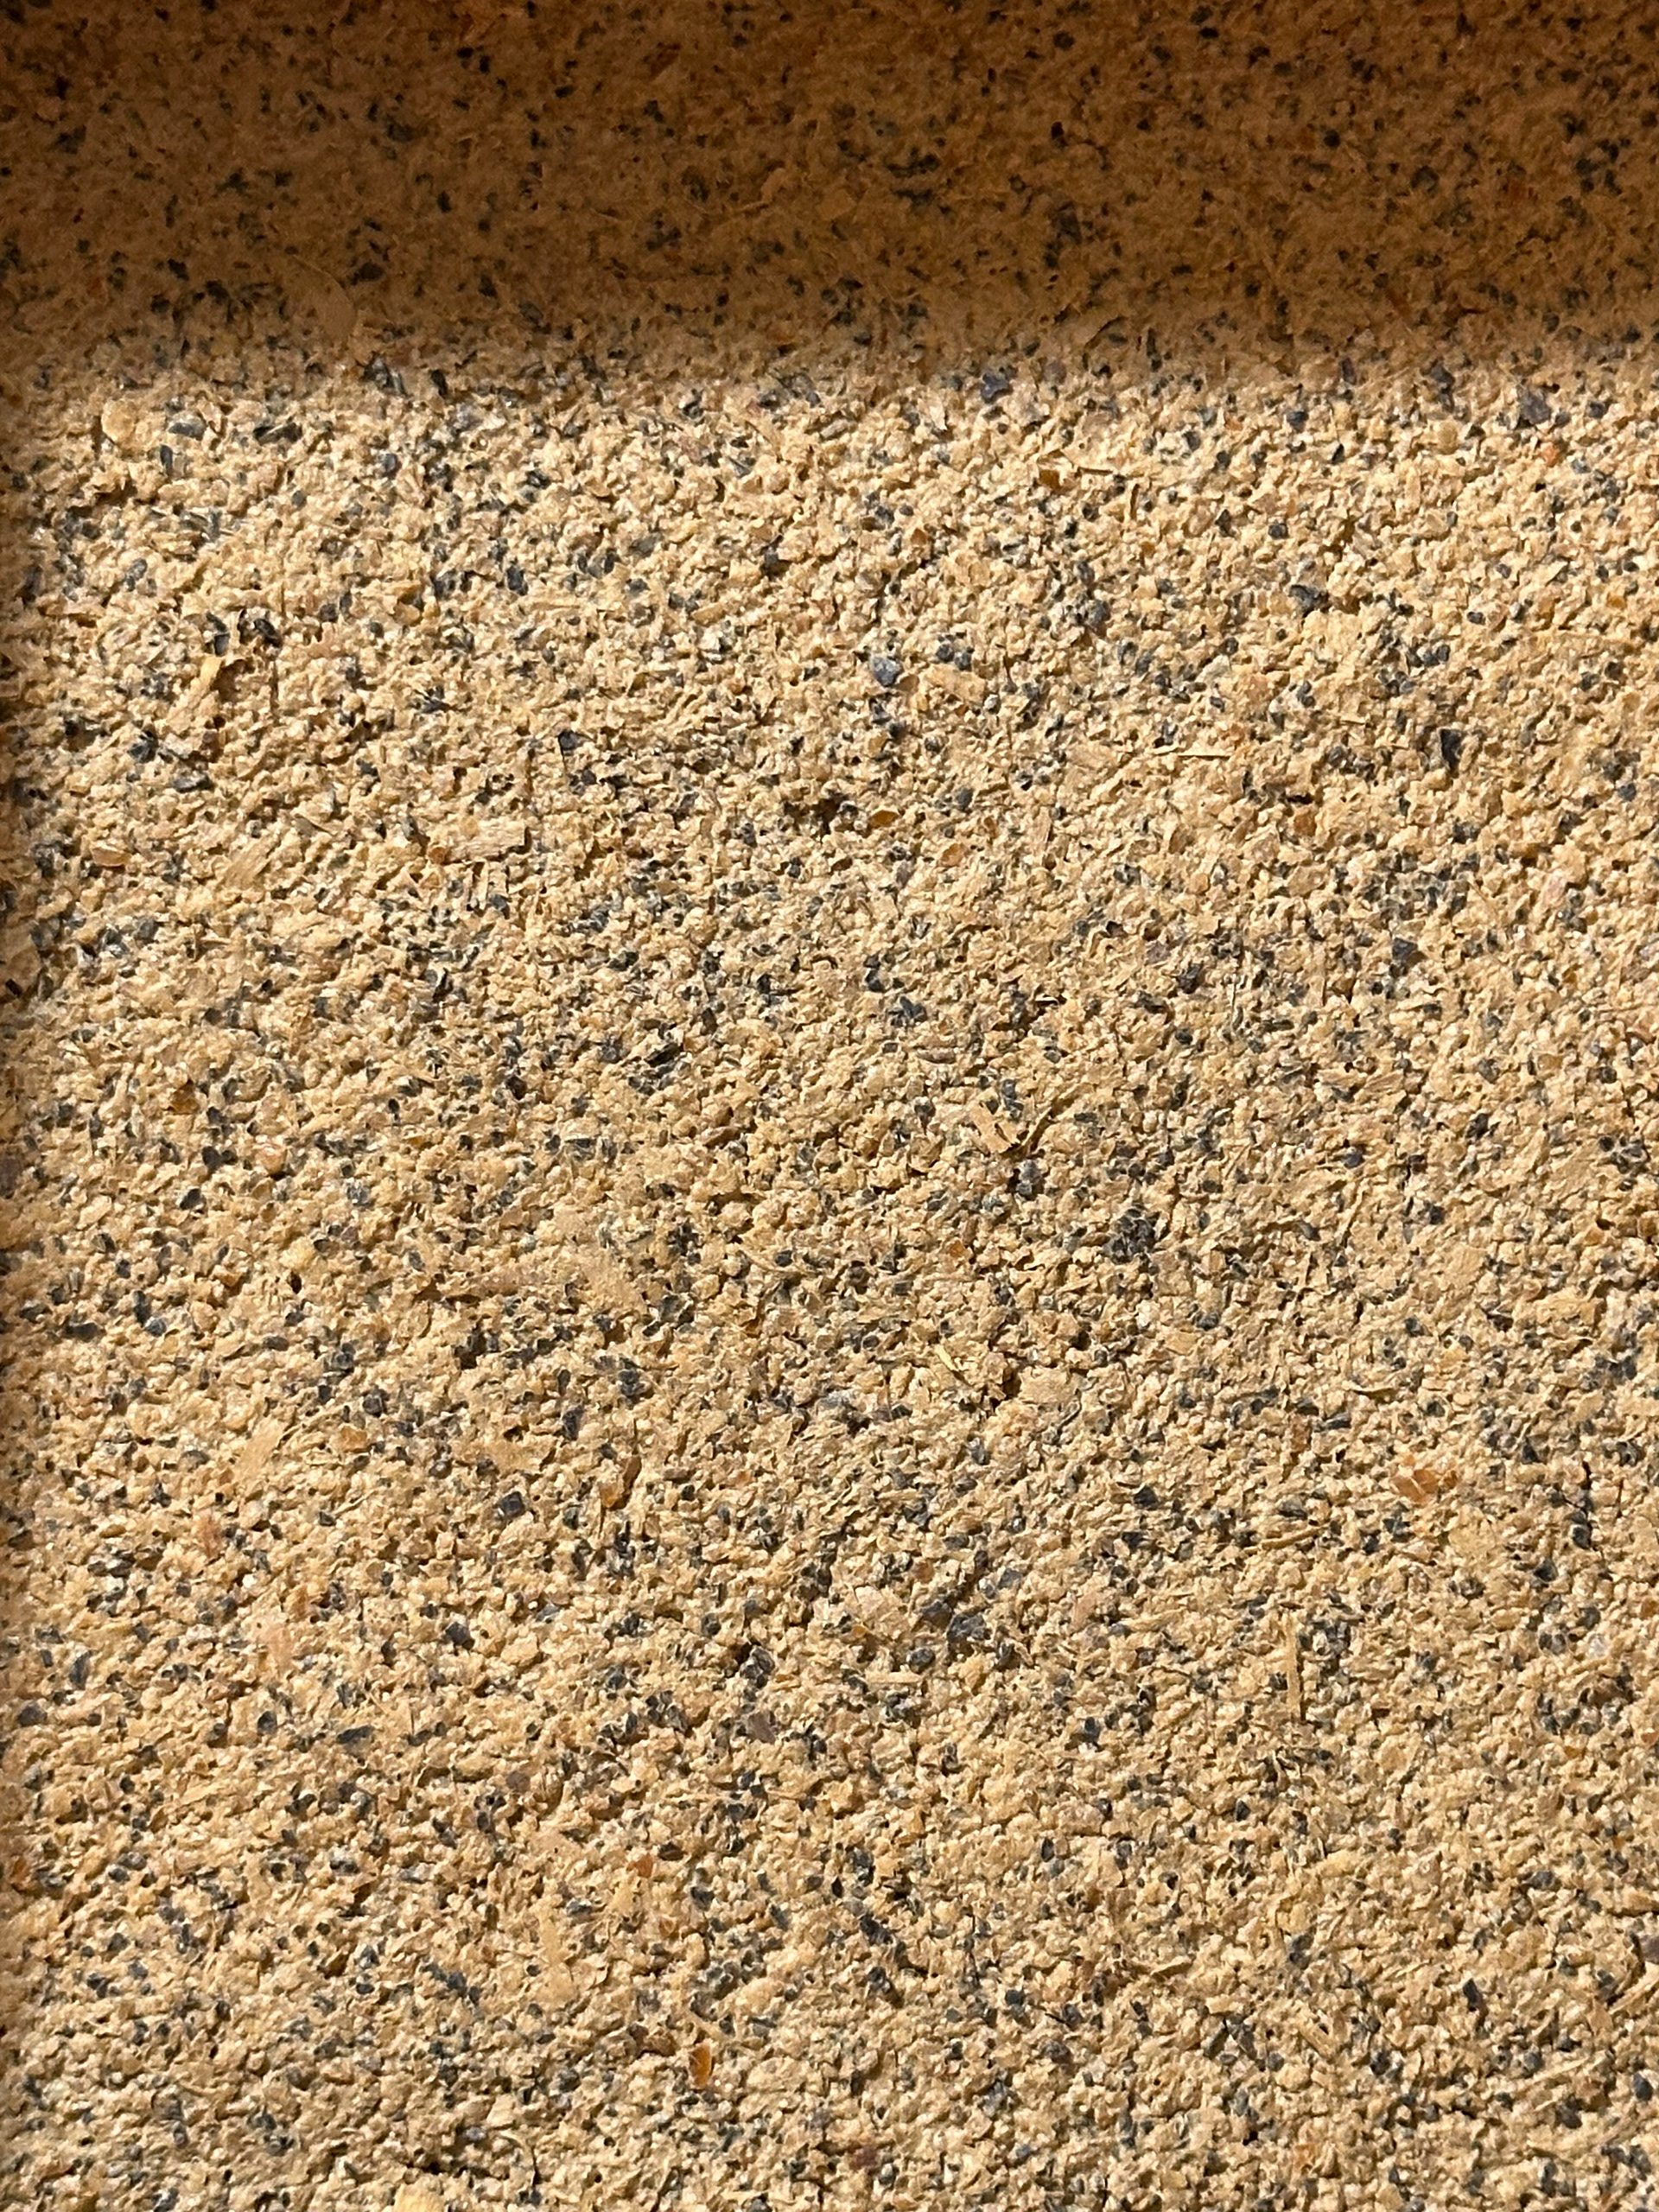
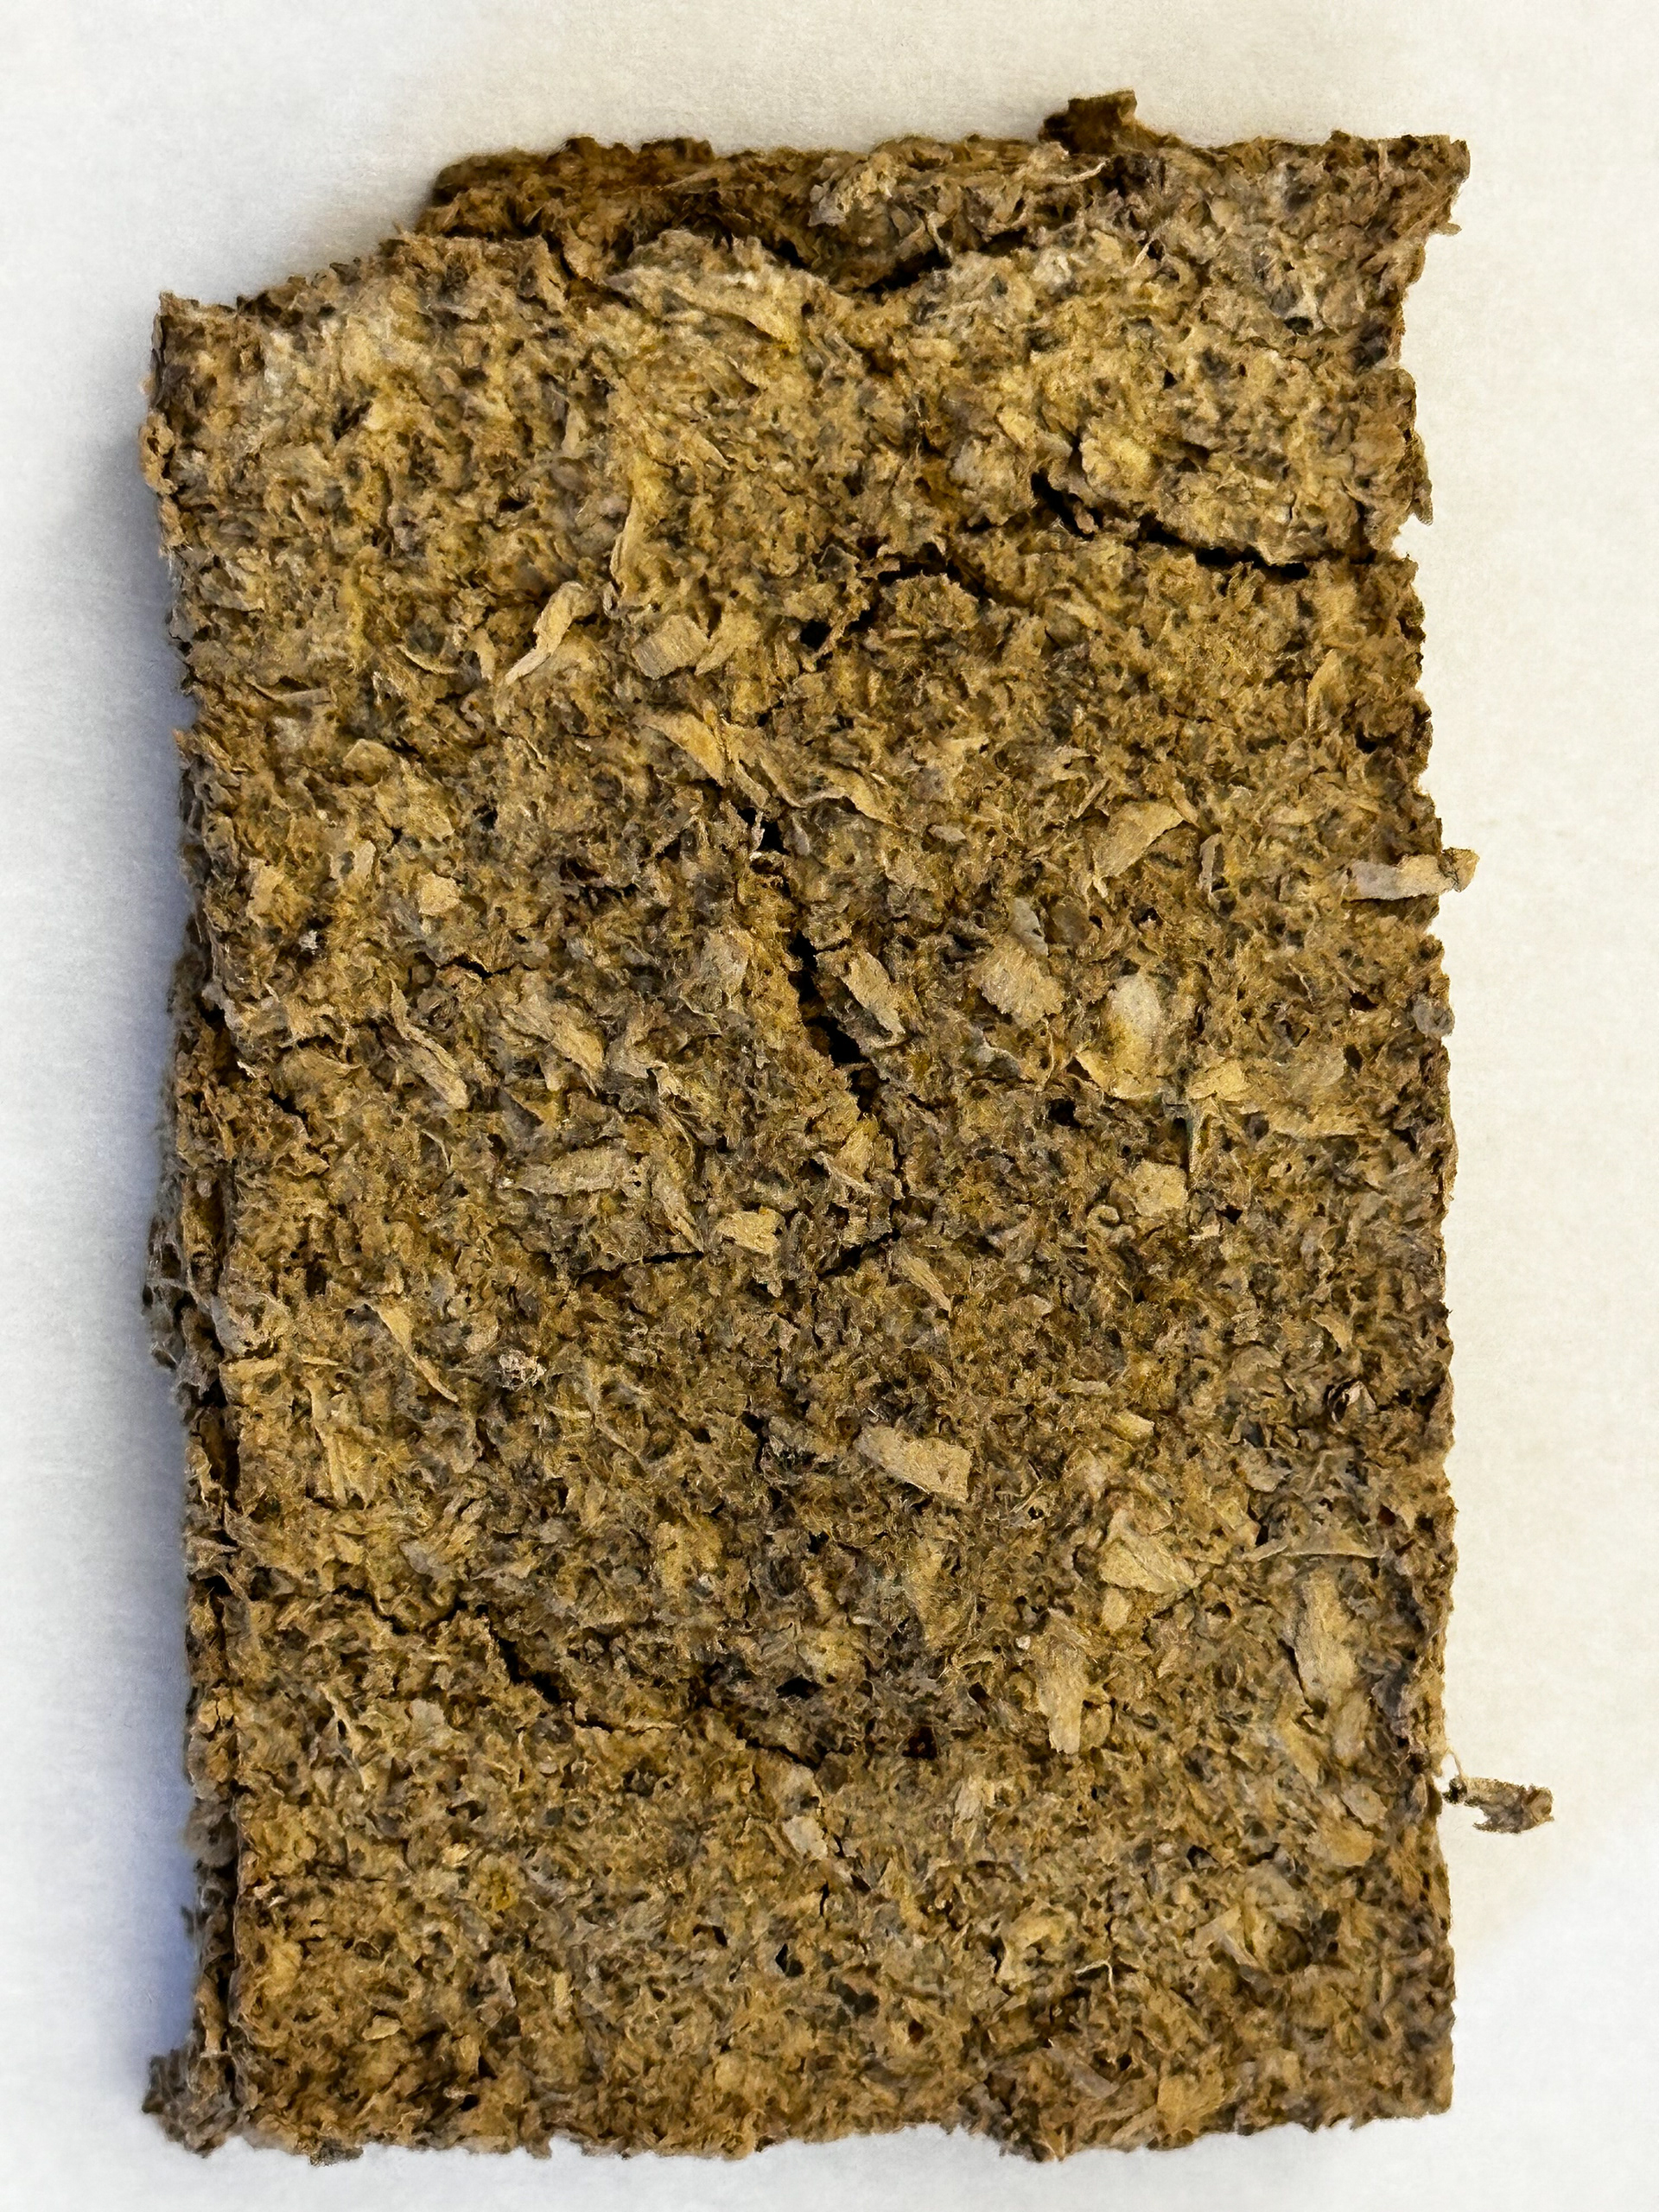
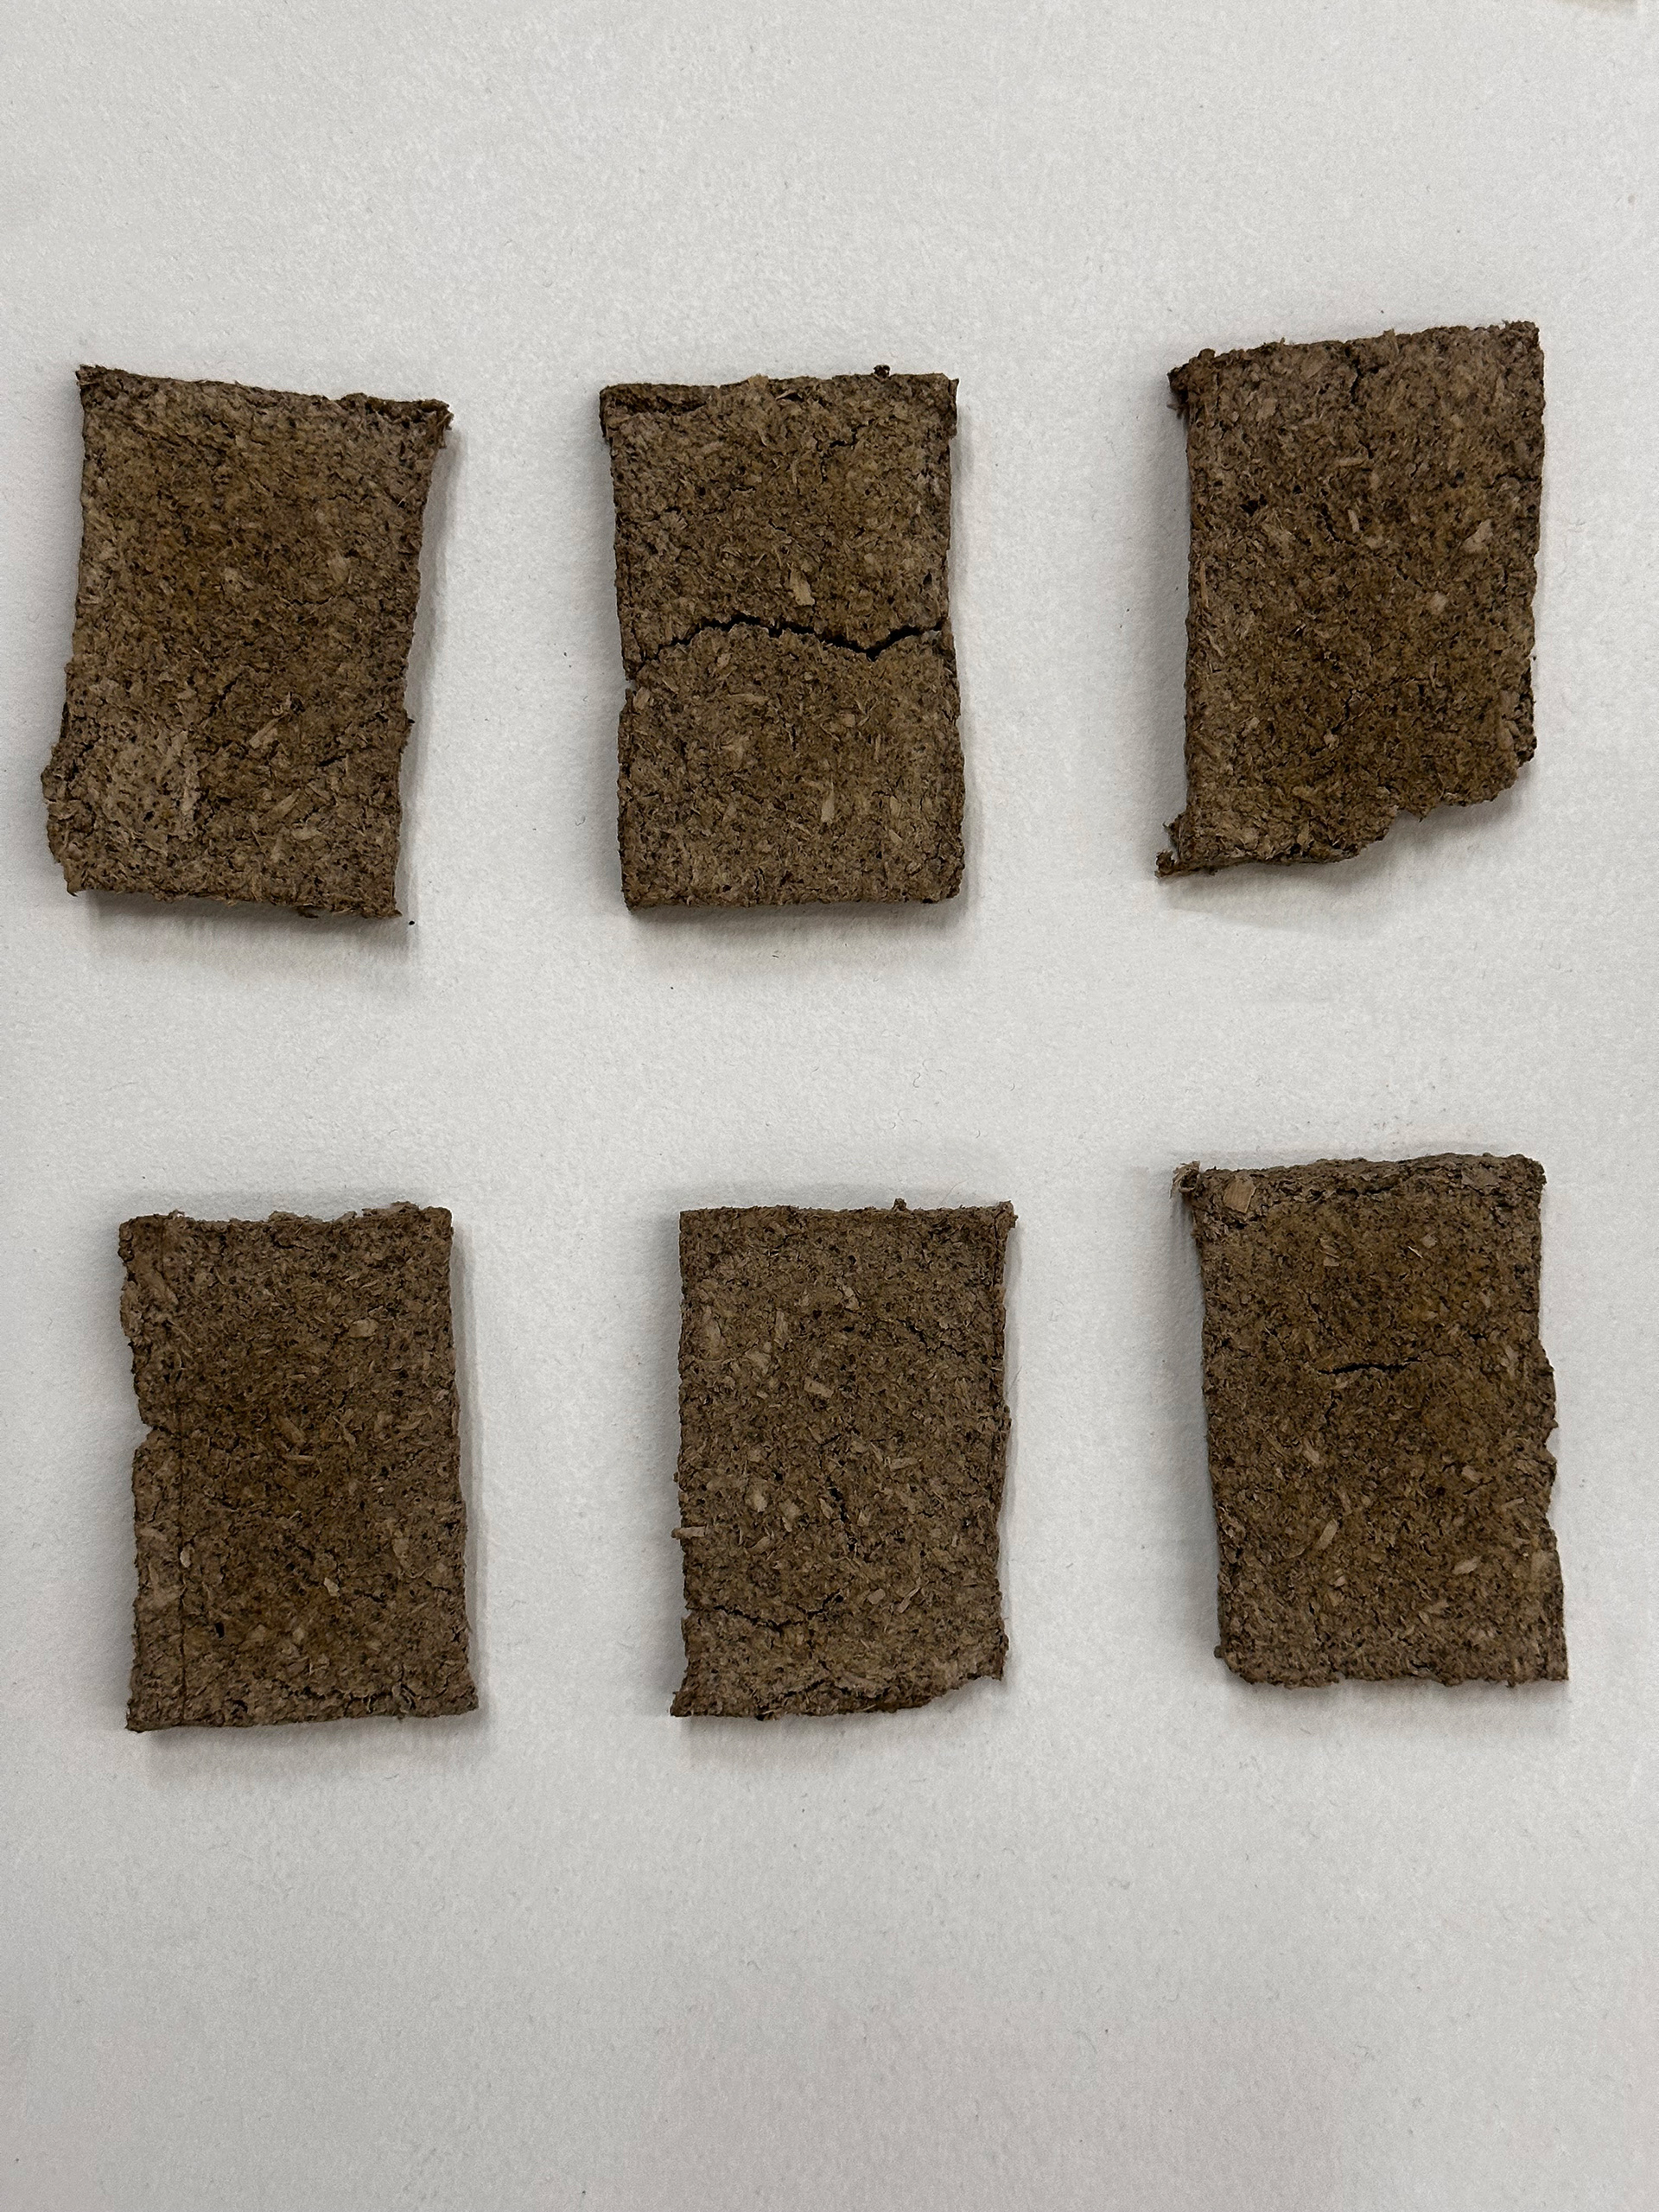
Significantly reducing the clay, compared to previous tests, makes the substrate more food based and increased porosity for mycelium growth. First test was similar to coarse wet sand, and with more water, the material became extrudable. The final material was slowly extruding under no additional pressure from the tube, which gives a good indication that it can be extruded. Methylcellulose played a big part in keeping flowability and structure with a small ratio of clay. A brown/orange tint was present, along with an orange coffee smell. This mixture, along with pasteurized materials have a limited shelf life and should not be used after 24 hours.
Significantly reducing the clay, compared to previous tests, makes the substrate more food based and increased porosity for mycelium growth. First test was similar to coarse wet sand, and with more water, the material became extrudable. The final material was slowly extruding under no additional pressure from the tube, which gives a good indication that it can be extruded. Methylcellulose played a big part in keeping flowability and structure with a small ratio of clay. A brown/orange tint was present, along with an orange coffee smell. This mixture, along with pasteurized materials have a limited shelf life and should not be used after 24 hours.
Material Recipe:
- Clay - 200g
- Sawdust - 8g
- Coffee Grounds - 40g
- Orange Peels - 240g
- Water - As needed
- Mycelium - 10ml
- Methylcellulose - 4 tsp
- Clay - 200g
- Sawdust - 8g
- Coffee Grounds - 40g
- Orange Peels - 240g
- Water - As needed
- Mycelium - 10ml
- Methylcellulose - 4 tsp
Estimated Prep Time:
1-3 hours
1-3 hours
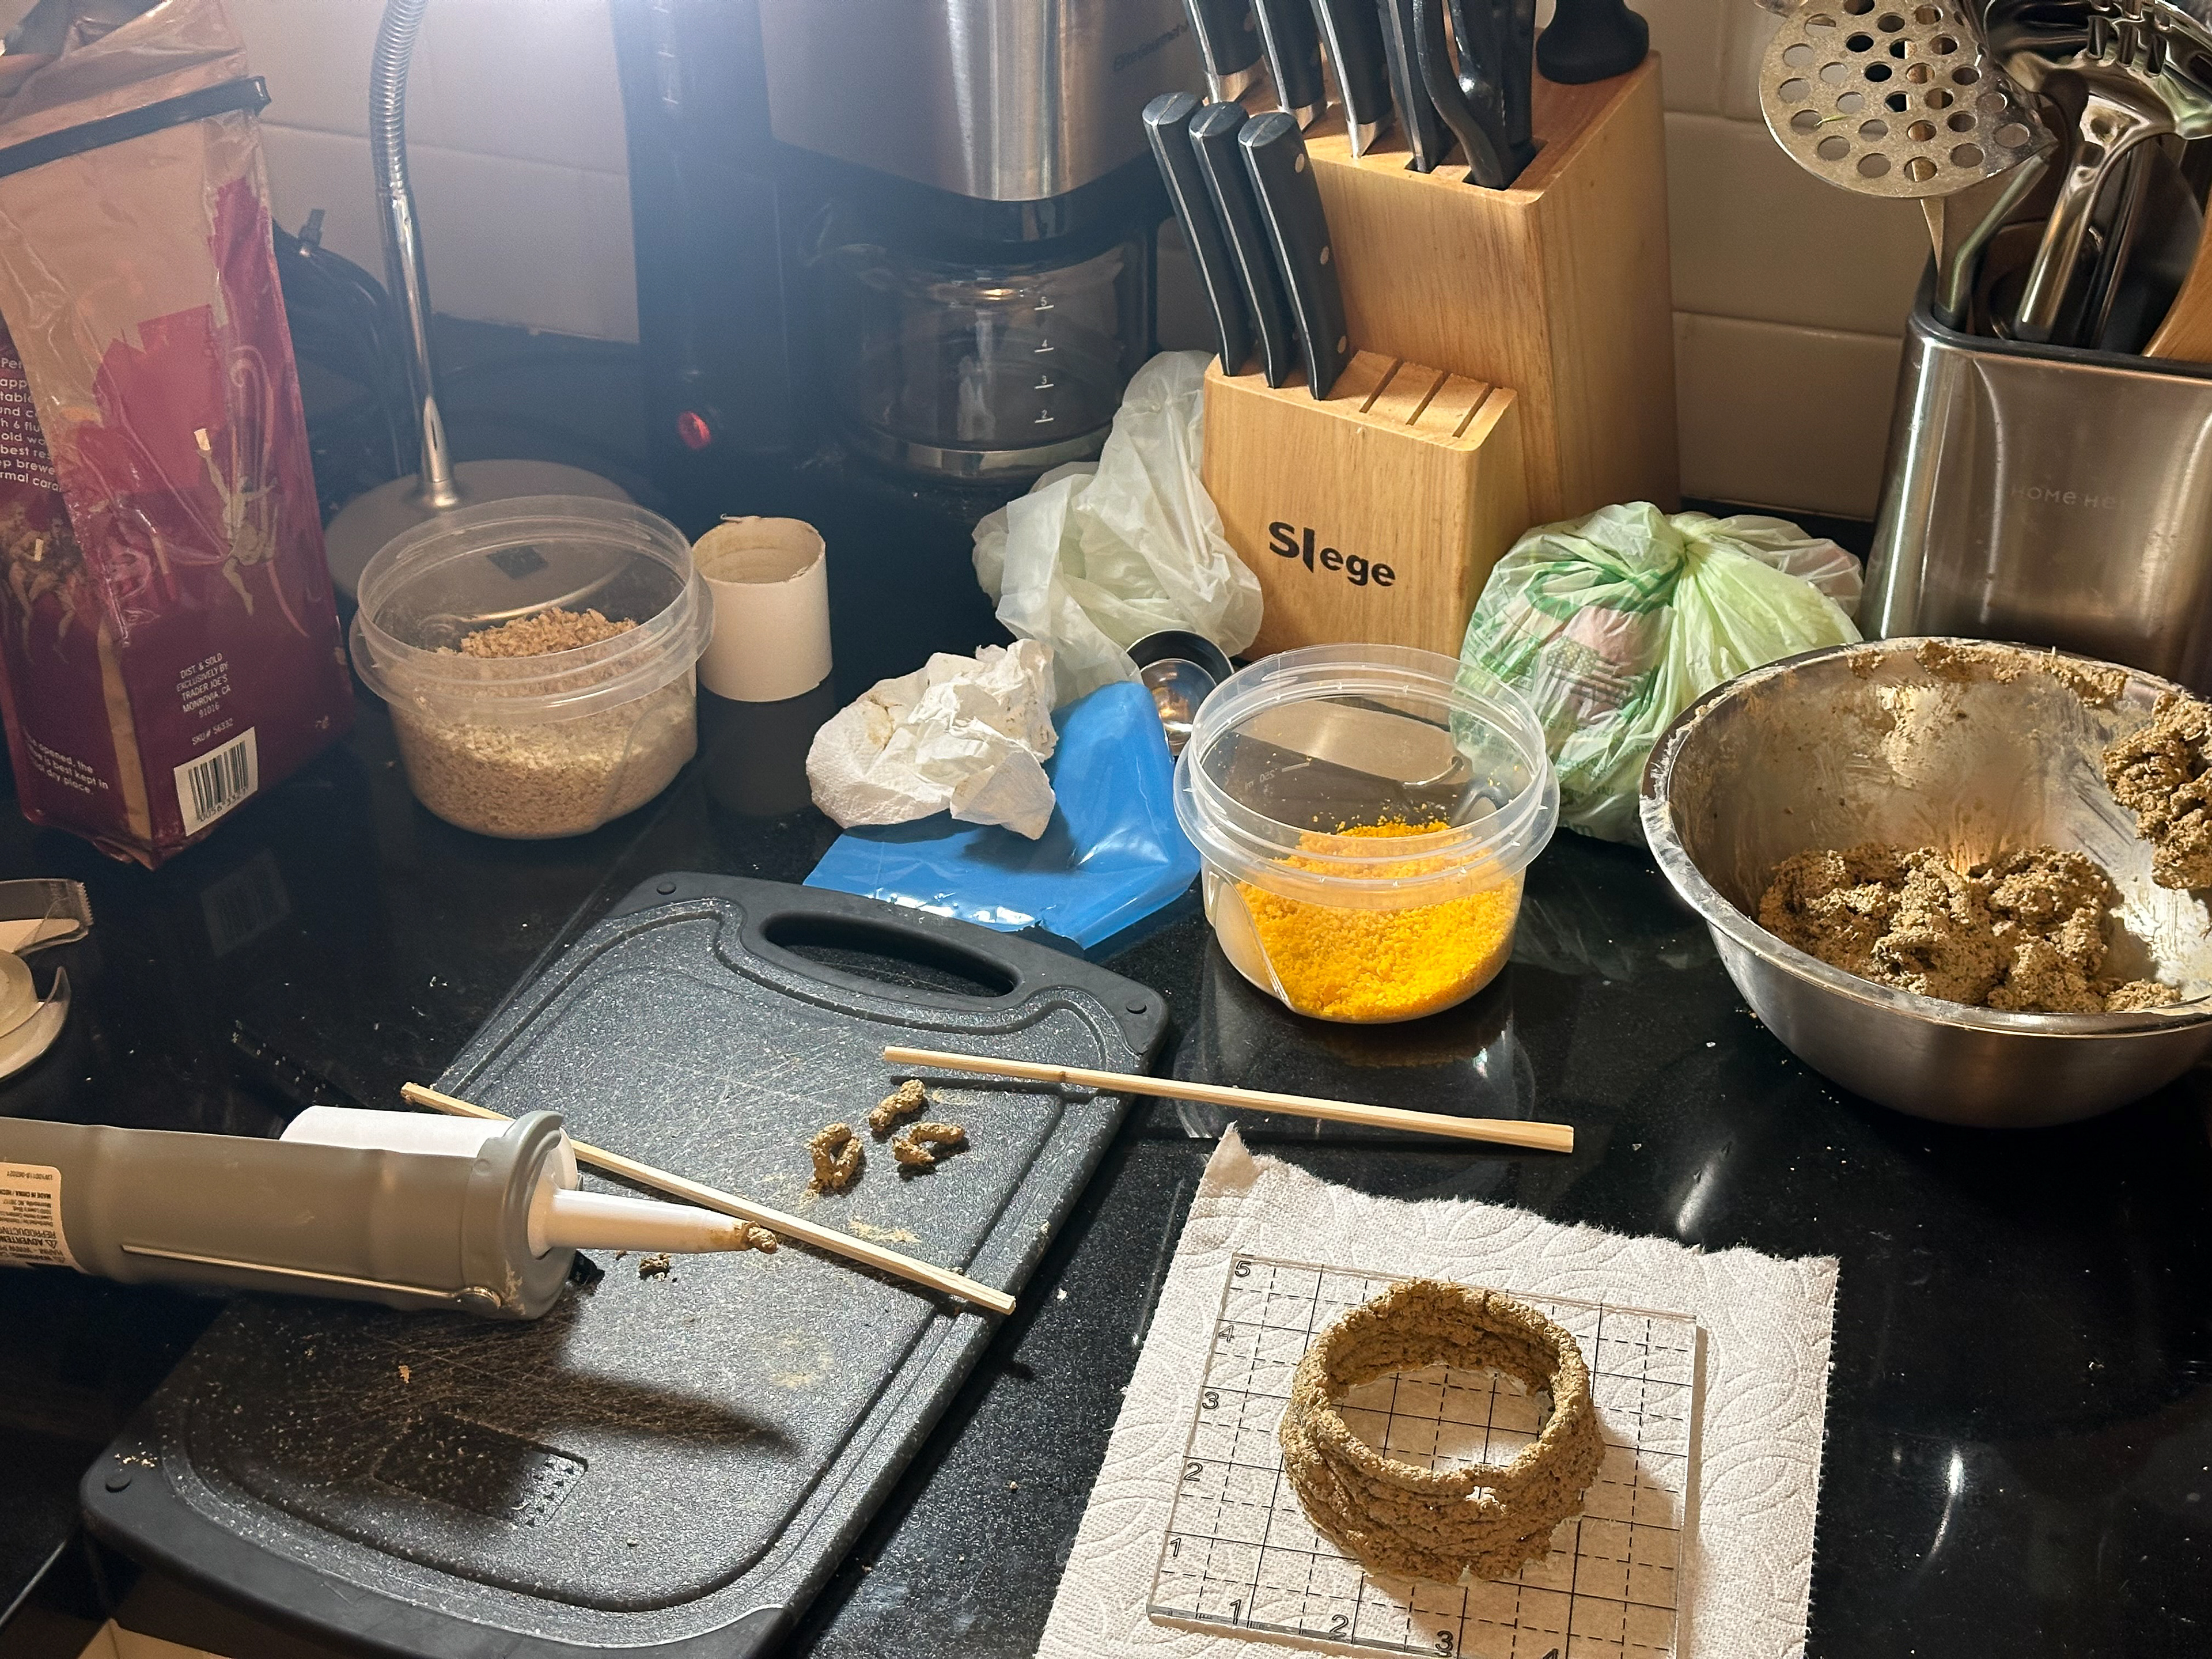
Material Mixture Process:
1. Collect materials.
2. Blend / Grind materials.
3. Pasteurize materials (Bake at around 200℉ for roughly 30 minutes - 1 hour).
4. Sterilize containers during pasteurization process i.e. spray anything that will be in contact with pasteurized materials with 70% isopropyl alcohol (WEAR GLOVES AND FACEMASK FROM THIS STEP TO THE END, replace mask and gloves as needed).
5. Sterilize mixing bowl, tools, and gloves.
6. Begin adding all materials with proper amounts (everything except water & mycelium). Mix everything thoroughly.
7. Once materials have been added, begin to mix with your hands and incrementally add water. The final texture should be mushy but still hold its shape.
8. Once this mixture has been completed, you can then add the mycelium spores. Mix thoroughly. The less time & contact the spores have with outside air and particles, the better.
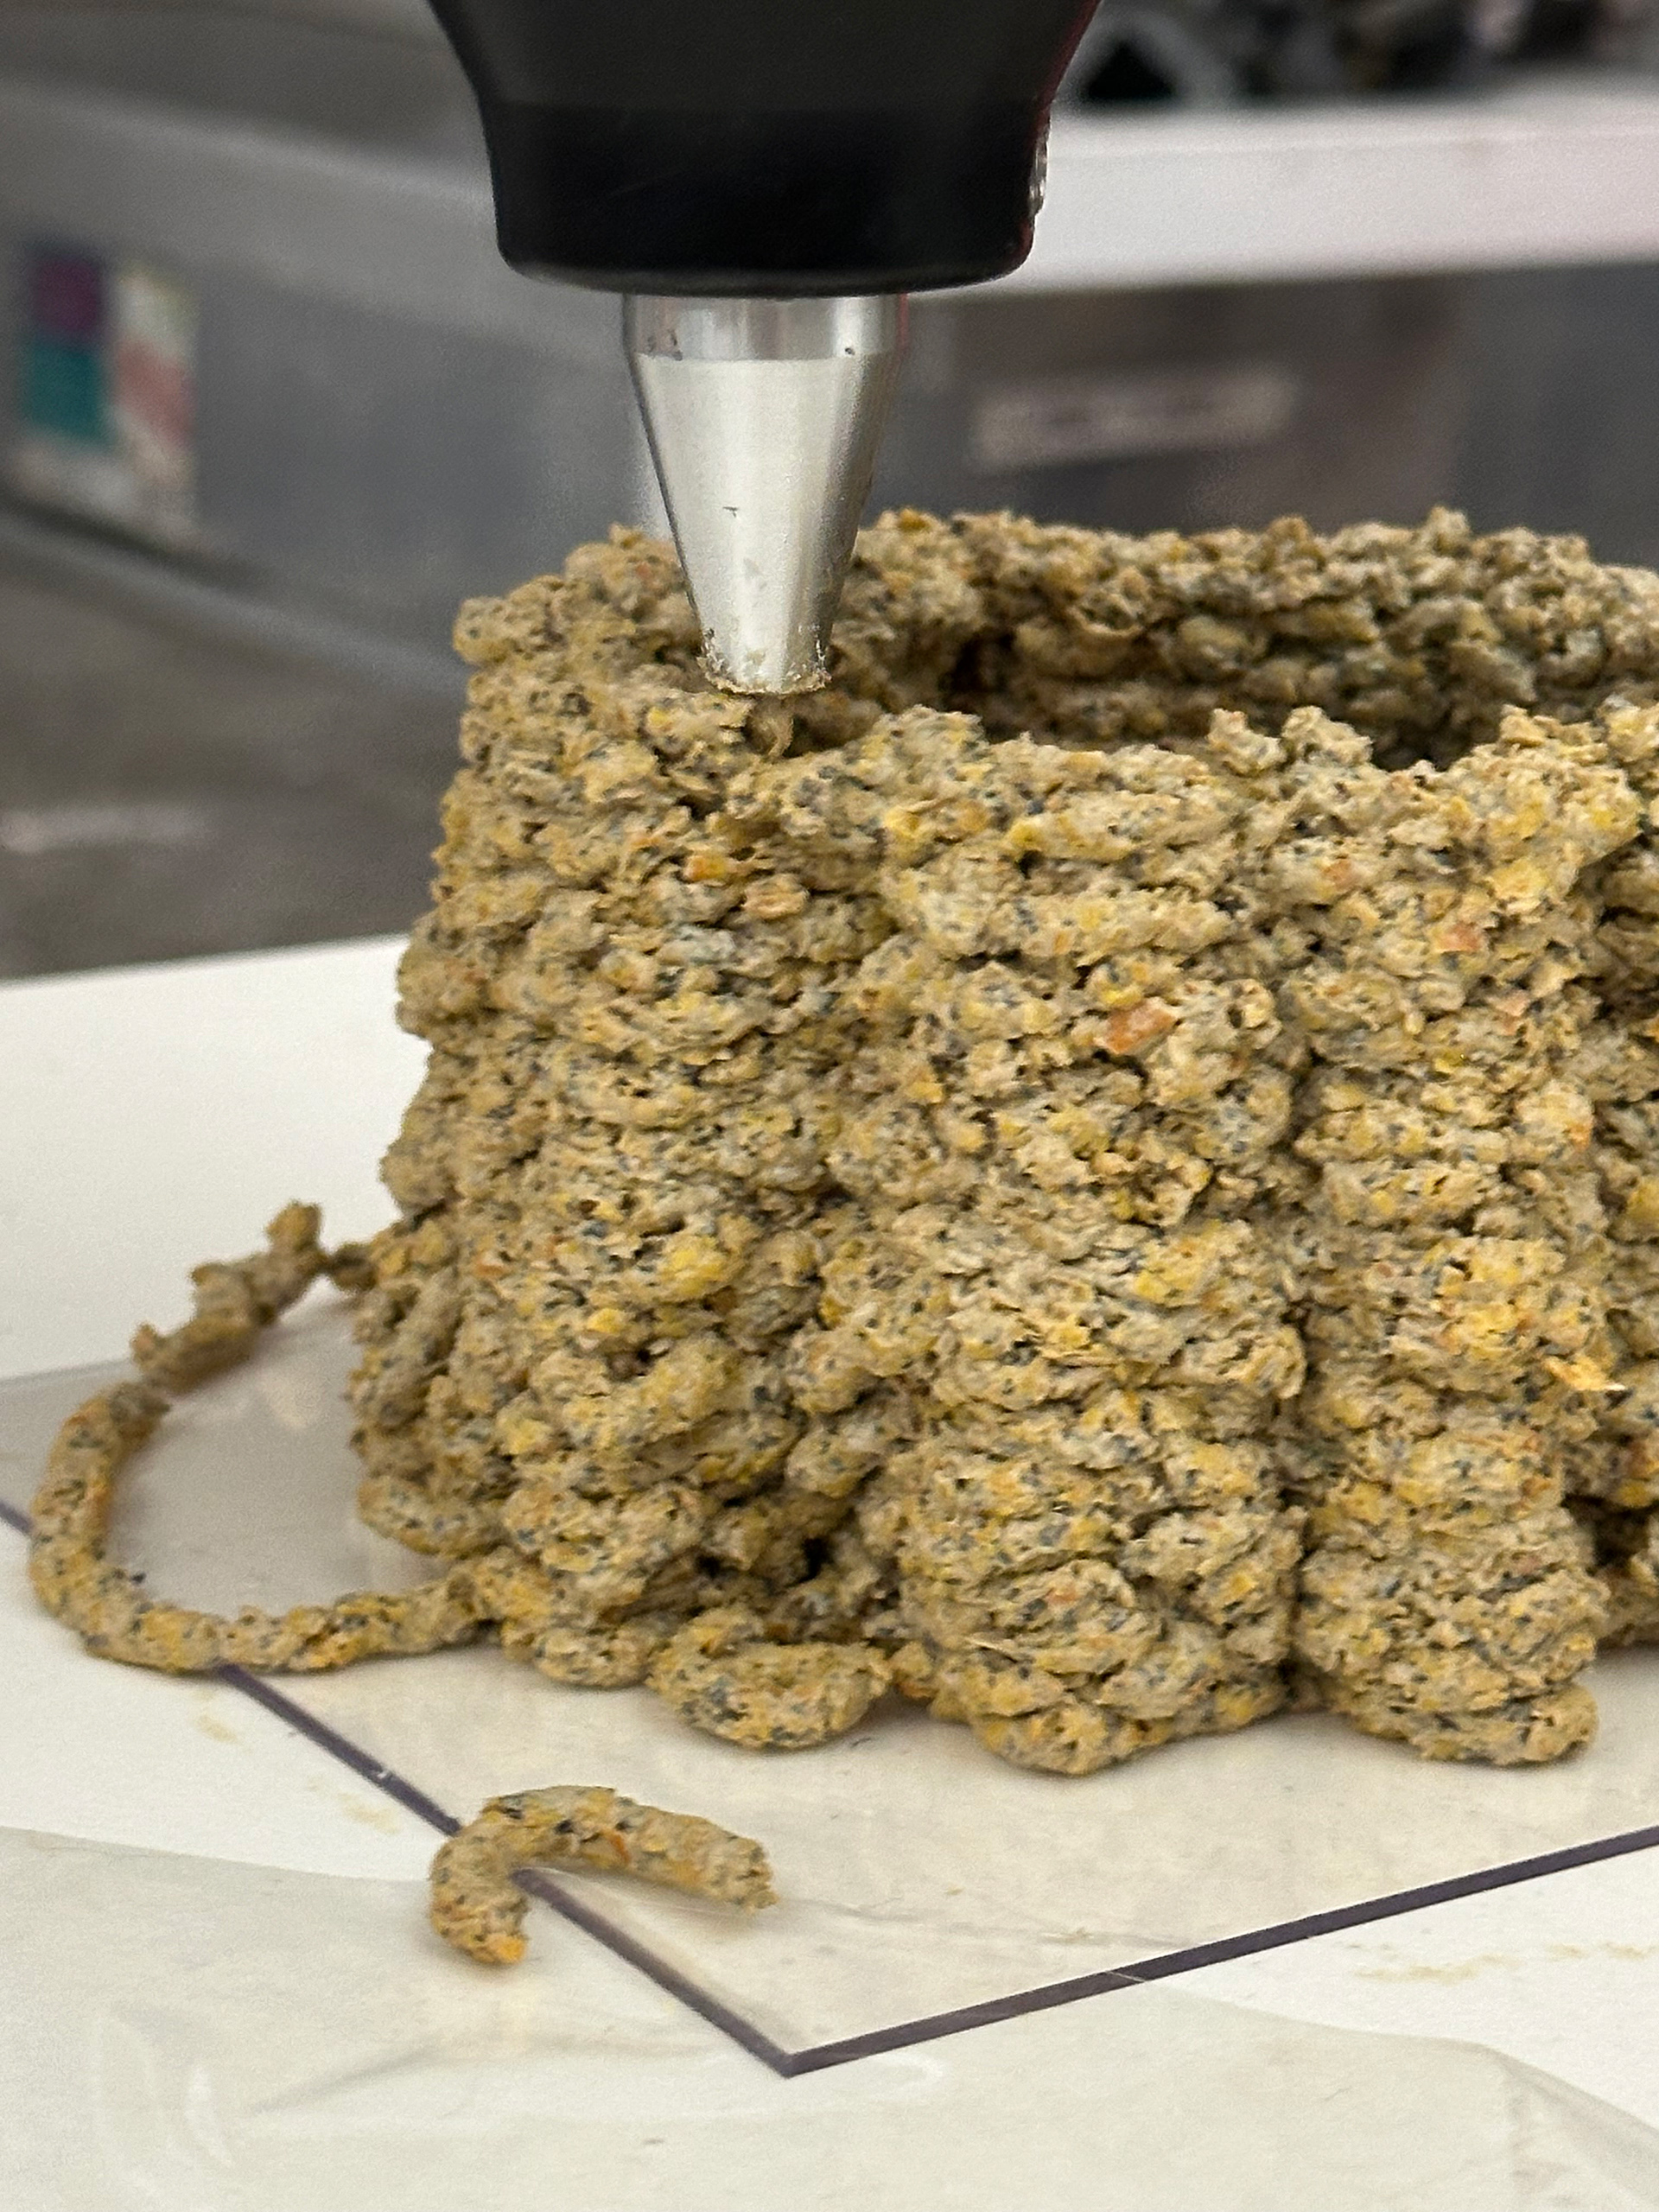
Potterbot Process:
1. Sterilize all potterbot parts that will be in contact with the mixture (spray tube, nozzle, nozzle head, and back puck with 70% isopropyl alcohol). REMINDER TO USE FACE MASK AND GLOVES (REPLACE & RE-STERILIZE AS NEEDED).
2. Place the back puck and screw down to keep it in place near the nozzle end
3. Begin to place small layers into the tube. When adding material, make sure that it is in small increments in addition to packing it down to prevent air pockets.
4. Tighten the nozzle to tube and set on the potterbot.
5. Continue with potterbot homing & prime process.
6. Sterilize the printer bed and start printing.
7. Place print & bed into sterilized bin.
8. Place bin in a dark cool environment with consistent conditions of 68-82.4℉ with 70-90% humidity. Growth development typically takes ~2 weeks.
Process & Tests

Machines Used
Rhino | Grasshopper | Potterbot